You would like to make you own jewelry but you do not know where to start? Indeed, the fashion jewelry world is vast; there are so many types of beads to choose from, materials and fabrication techniques. However, rest assured, it's not very complicated, you just need the right tools, pretty beads and basic knowledge. Your imagination will do the rest!
In this article, we will suggest various materials and tools required to take on your new hobby. To start off, we will present the various different jewelry techniques. This will allow you to better discern the types of project that you would like to take on. We will then suggest a few materials that you can use as well as the finishing accessories (findings) and the types of supports that come with them. Ultimately, we will suggest a few vital tools that you will need to start off.
Go ahead! Browse through our fabulous world of beads, pendants, accessories, tools and strings and let your imagination run free.
Techniques:
To start off, ask you this question: what would you like to make? Should you make earrings, a necklace, a ring or a bracelet? This choice can seem simple but it will help you avoid getting confused by all the possibilities that are offered to you.
Therefore, choose wisely the type of project you want to undertake. If you lack inspiration, know that several books or magazines will have suggestions as to what jewelry model you can make. You can also find your inspiration on internet; the section "Inspiration" of Club Bead Plus web site will offer you over 800 jewelry models designed specifically to trigger your inspiration. Once you have found your idea, you will have more ease finding the right tools to make your project (beads, accessories, strings, tools, etc.).
Here are a few basics techniques commonly used. These techniques all have their particularities and do not require the same materials or the same tools. One thing is sure though, the more techniques you master, the more creative possibilities will be opened to you!
Bead stringing
For necklaces and bracelets, threading a bead on a
elastic string or
cord is without a doubt, the easiest way of creating jewelry. You will have to learn to make a solid
knot (surgeon knot) and to apply a drop of
glue on it to solidify it.
Links and charms: loops
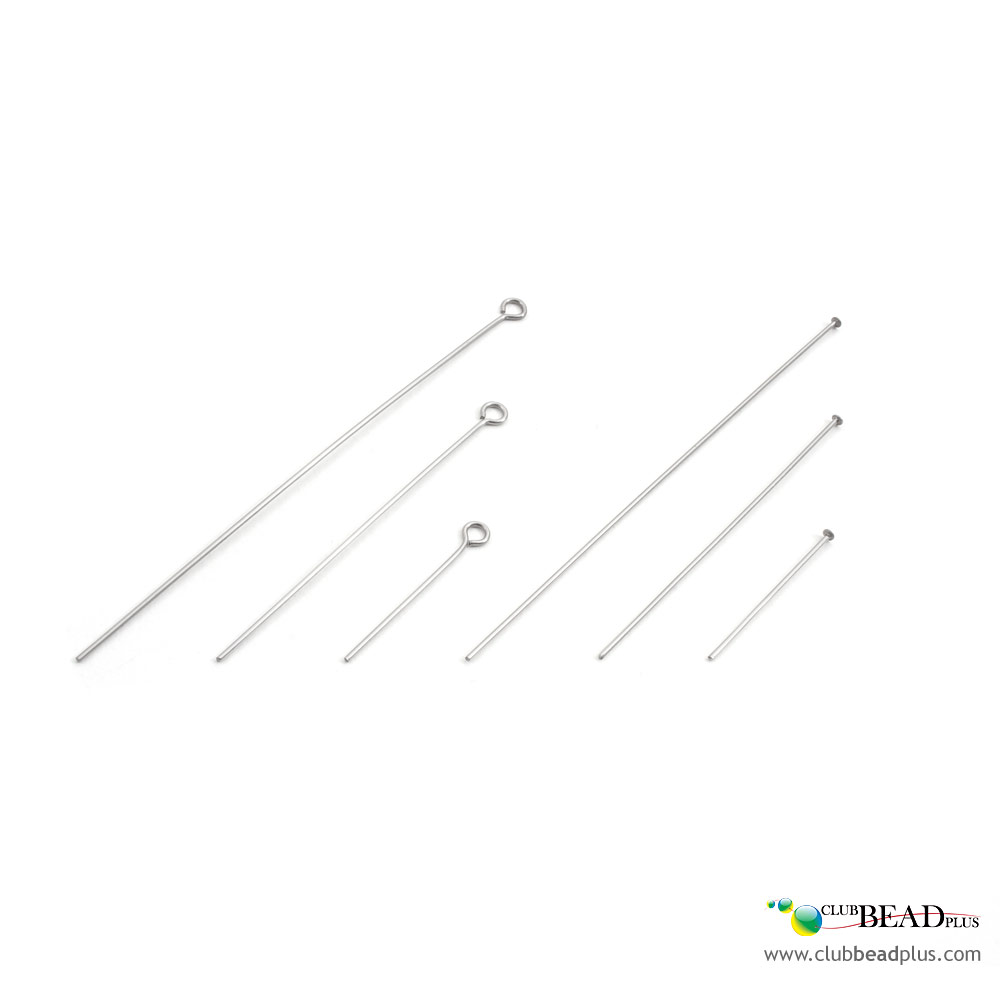
A charm is a bead installed on a
head pin (metal rod). At the other end of the rod you will have to make a
loop, the rod will then be able to be attached to another element (
chain,
ring,
clasp, etc.). If a bead is installed on a rod that already has a loop at its end (
eye pin), making a link would be better. Several links connected to one another can allow for the making of a jewelry segment that is either longer or shorter.
Copper wire: wrapping, hammering and handmade links
The
copper wire technique will let you make various sculpture-like elements that will in turn, make your creations unique. With
pliers (and your imagination), you can make shapes such as
spirals or curves. The metal string can also be
hammered using specific
tools that will harden it, it is then easy to create handmade links or to do
bead wrapping. This technique offers a world of possibilities!
Installing beads on nylon covered steel string (Tigertail™)
To
hang beads on a string you will need
Tigertail strings and
crimp beads. Learning how to use crimp beads will allow the beads to hold and hang in suspension on one or more rows of strings and also to tie the steel string to a
ring or
clasps.
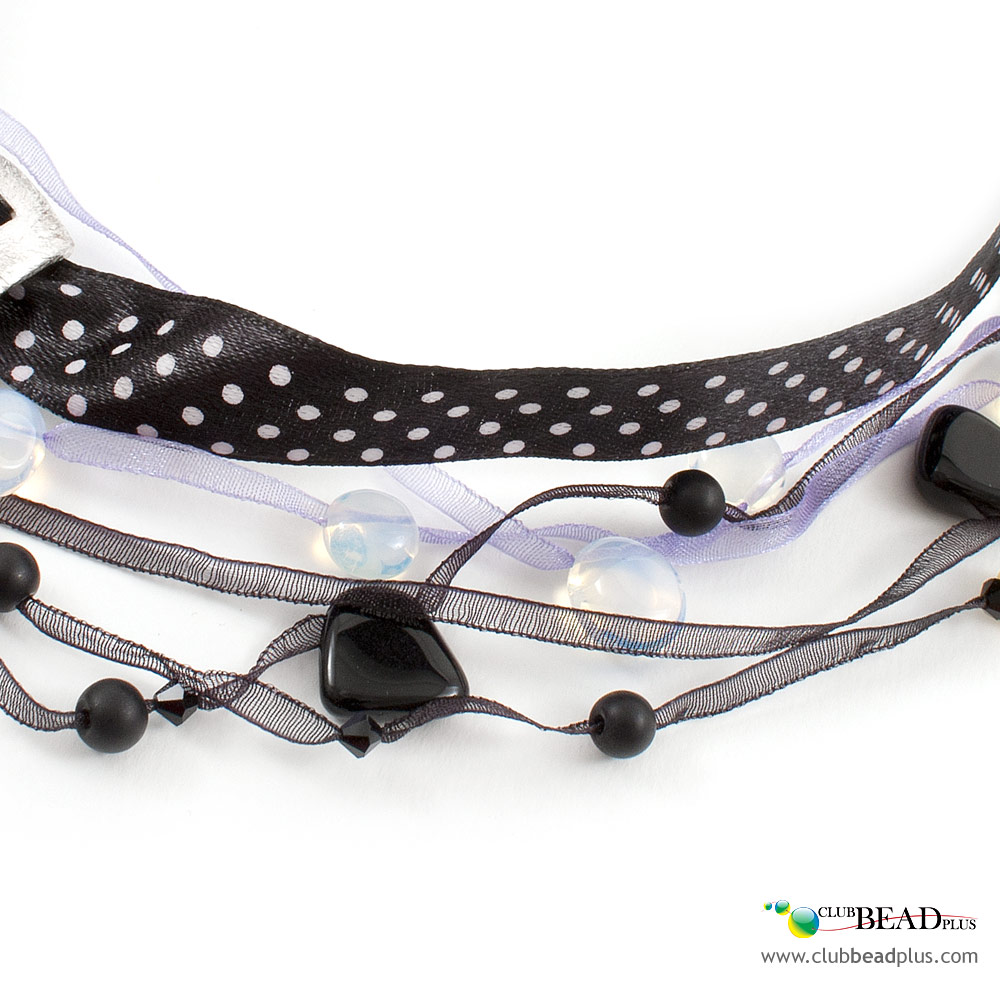
Installing beads on ribbon
Beads can easily be hung on
silk ribbon or
organza. If the ribbon is not large enough, you can secure your beads by tying the ribbon on each of its sides. Be careful about the weight of the beads and the size of their whole. The whole cannot be too small because the ribbon has to go through the bead. Furthermore, if the bead is too heavy it may not stay still.
Ribbon connectors will allow you to tie your ribbon to a clasp.
Weaving
When we say weaving, it generally refers to the weaving of beads, often enough
seed beads are used (small glass beads). There are different stitches, the easiest one being the
right angle weave stitch.
Fishing wires (nylon strings) are mainly used to make rings. For bracelets or necklaces,
elastic strings made with Lycra are more commonly used.
Traditional pearl stringing
This type of stringing is generally done on a
silk string and most of the time with round white
fresh water pearls. The particularity of this technique is that a knot is made after each pearl. The
traditional stringing of fresh water pearls allows putting the emphasis on the bead while maintaining a classical style that will remain in style through trends and it offers a durable protection of these little jewels. A
beading awl can greatly help you to make and position the knots in between the pearls.
Material:
Several materials can be added to a jewelry piece, some like feathers are more common depending on the trend. Whereas others like fresh water pearls are an unbeatable classic, just follow your instinct.
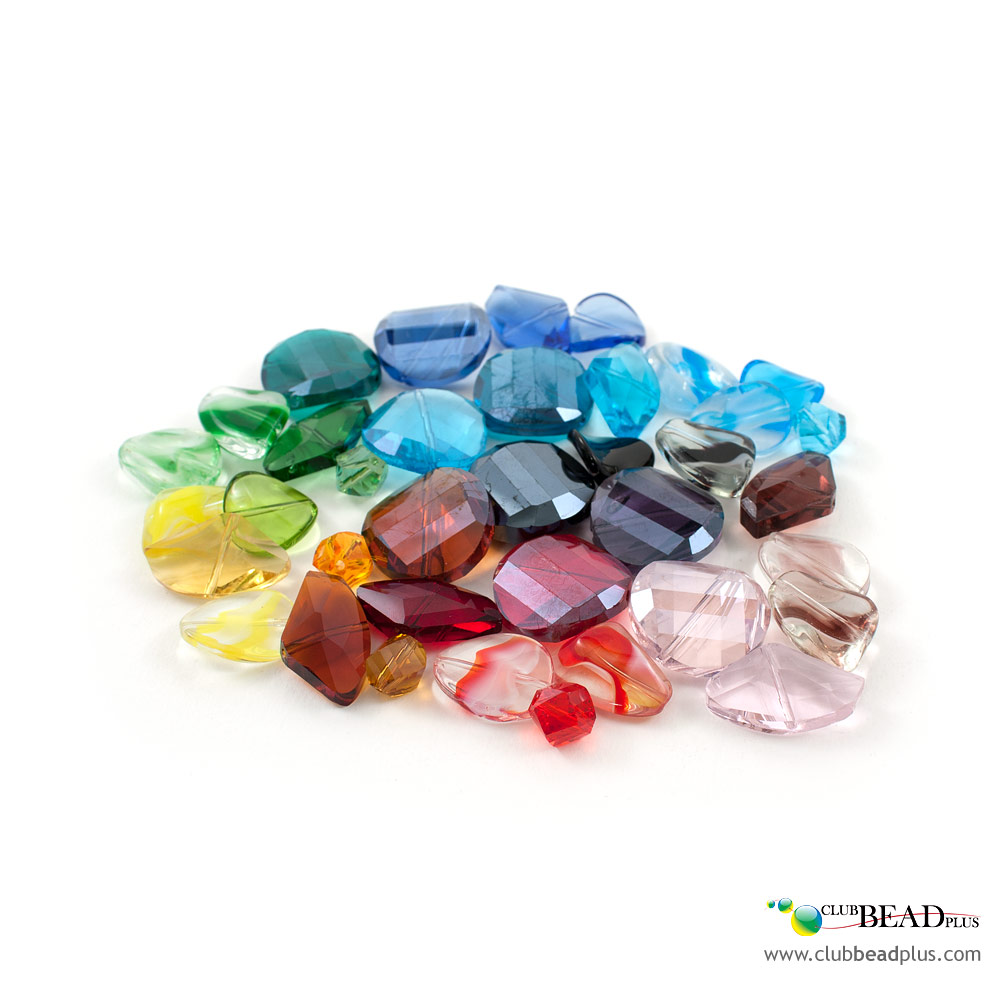
Glass
Glass can be found under various forms in jewelry;
pressed glass,
fire polished glass,
seed beads,
Murano style glass,
cat's eye,
pearled glass beads, etc. There are some for all tastes. Beads can be mat, shiny or iridescent.
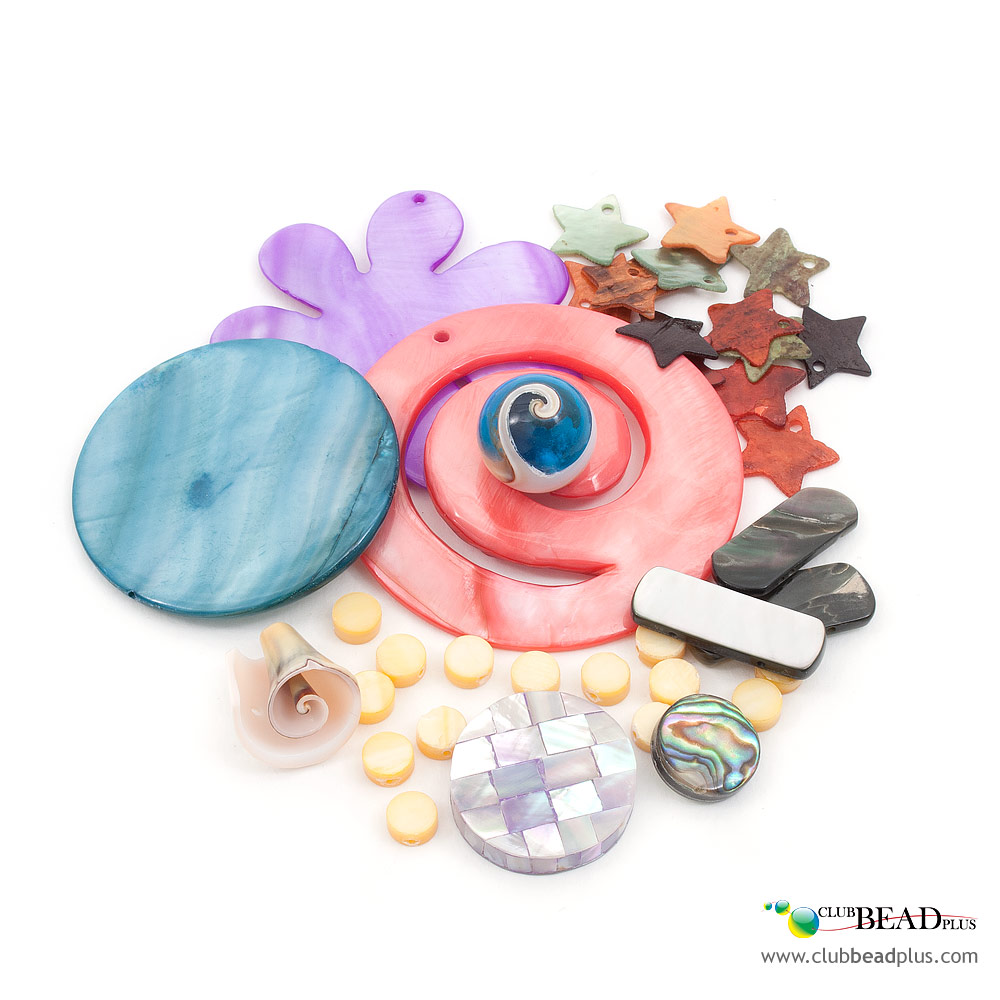
Seashells
Seashells can be dyed easily and can be cut into many shapes, often flat-shaped. There are many large seashell beads since they are so light, thus many can be added to a jewelry piece.
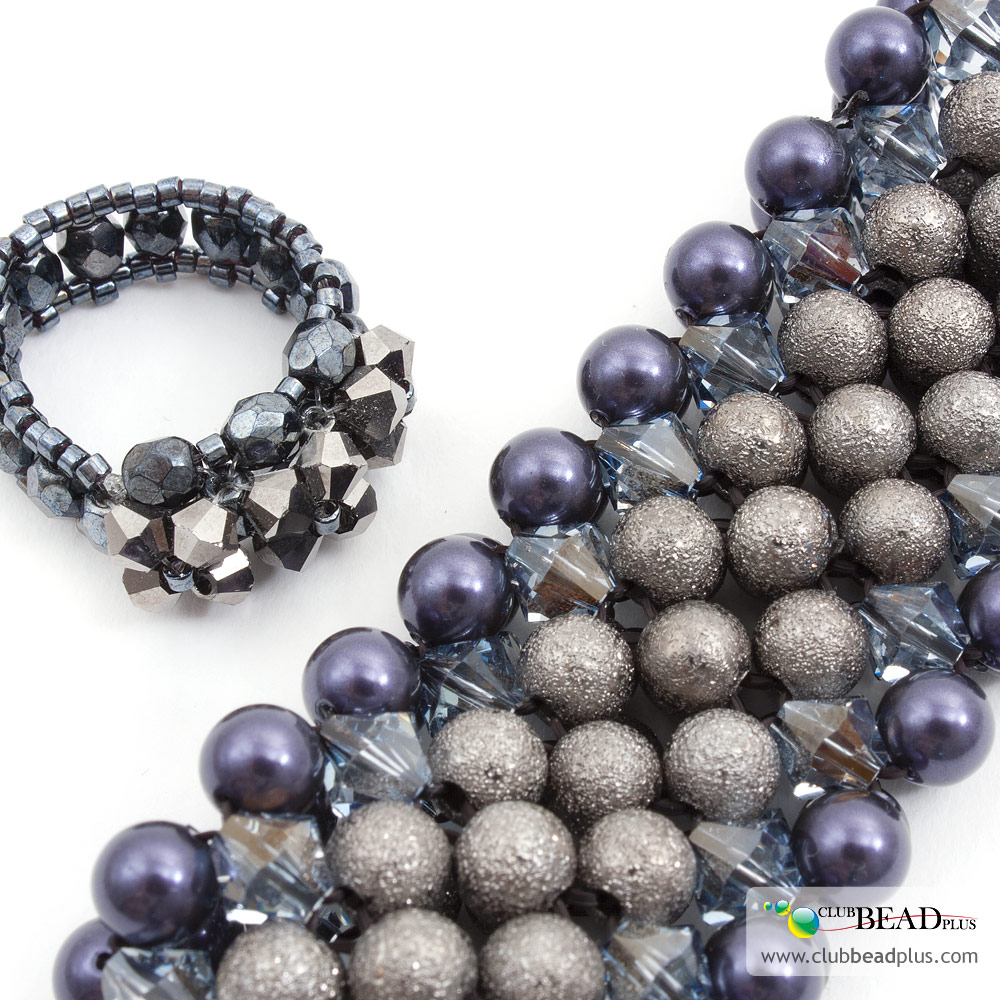
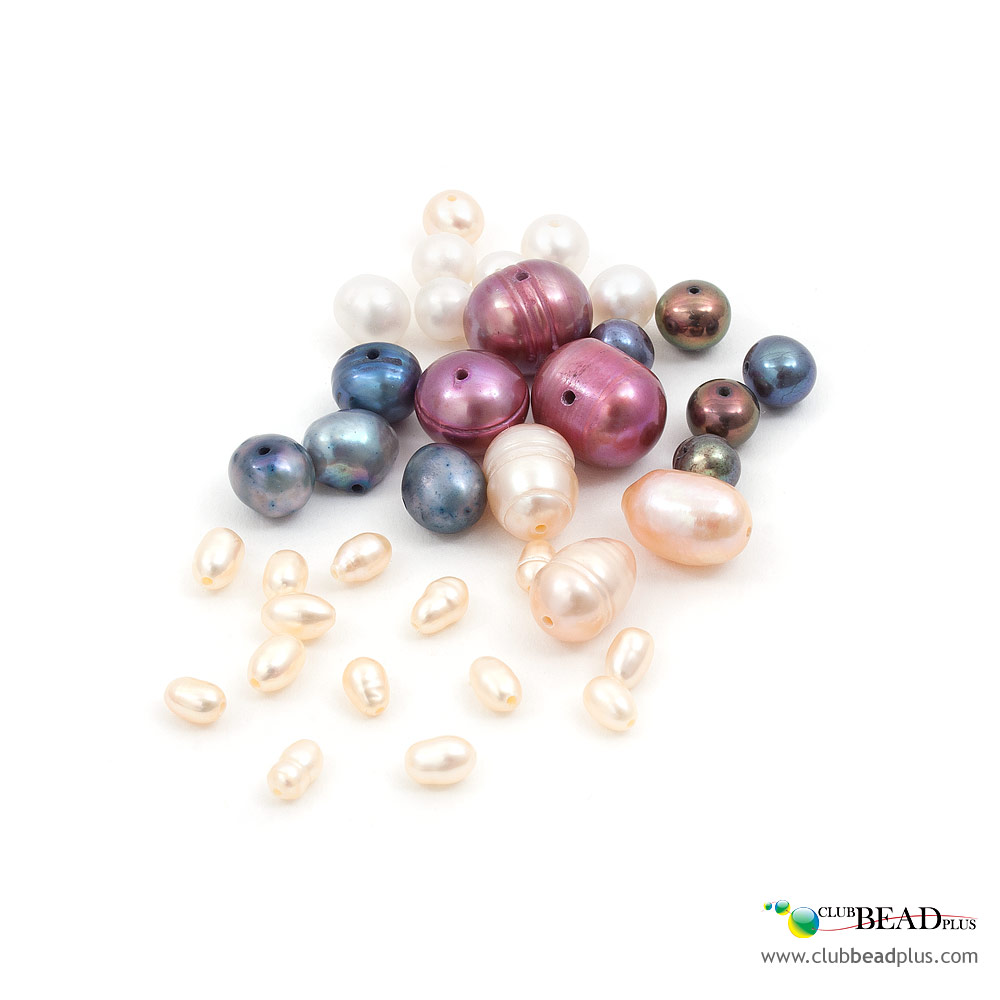
Pearls
The most common
pearls on the market are the "cultured pearls". Natural pearls are extremely rare and constitute a very small part of the market. The price of a pearl will depend on its shine and its regularity. Pearls can be found in natural colors or they can be died.
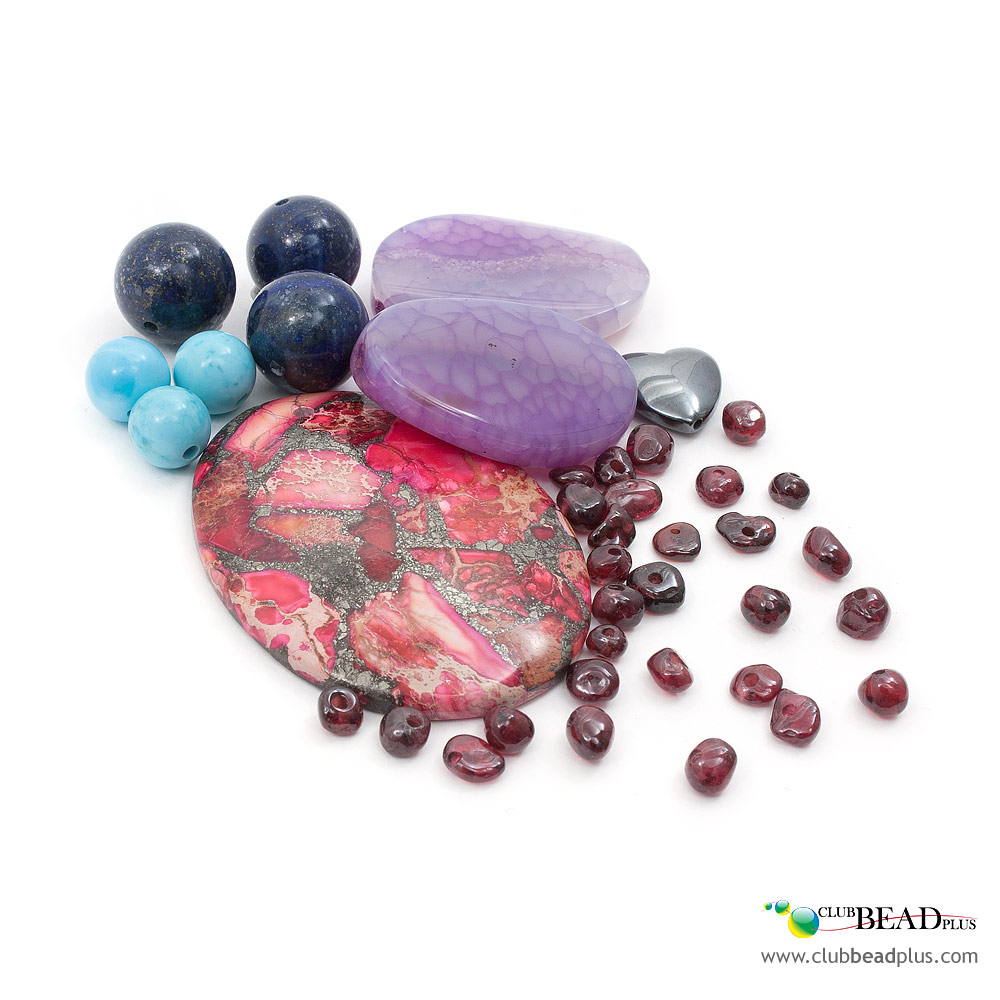
Gemstones
They used to be called "semi-precious
stones" but this is no longer accepted because of its pejorative connotation. They are natural stones (topaz, quartz, opals, etc.). They can be found under various shapes and sizes, dyed or in natural shades.
Wood
Some
wooden beads come from common sources (pine, birch, etc.), whereas others are more rare or
exotic (Sebucao, Greywood, Kamagong, Bayong, palms and coconut tree, etc.). They often add a natural and organic touch to jewelry.
Crystal
A
crystal is a type of glass that is rich in lead. Lead gives more shine and allows for an easier cut of the glass. The
SWAROVSKI brand is the most popular but there are other brands such as the
STELLARIS brand.
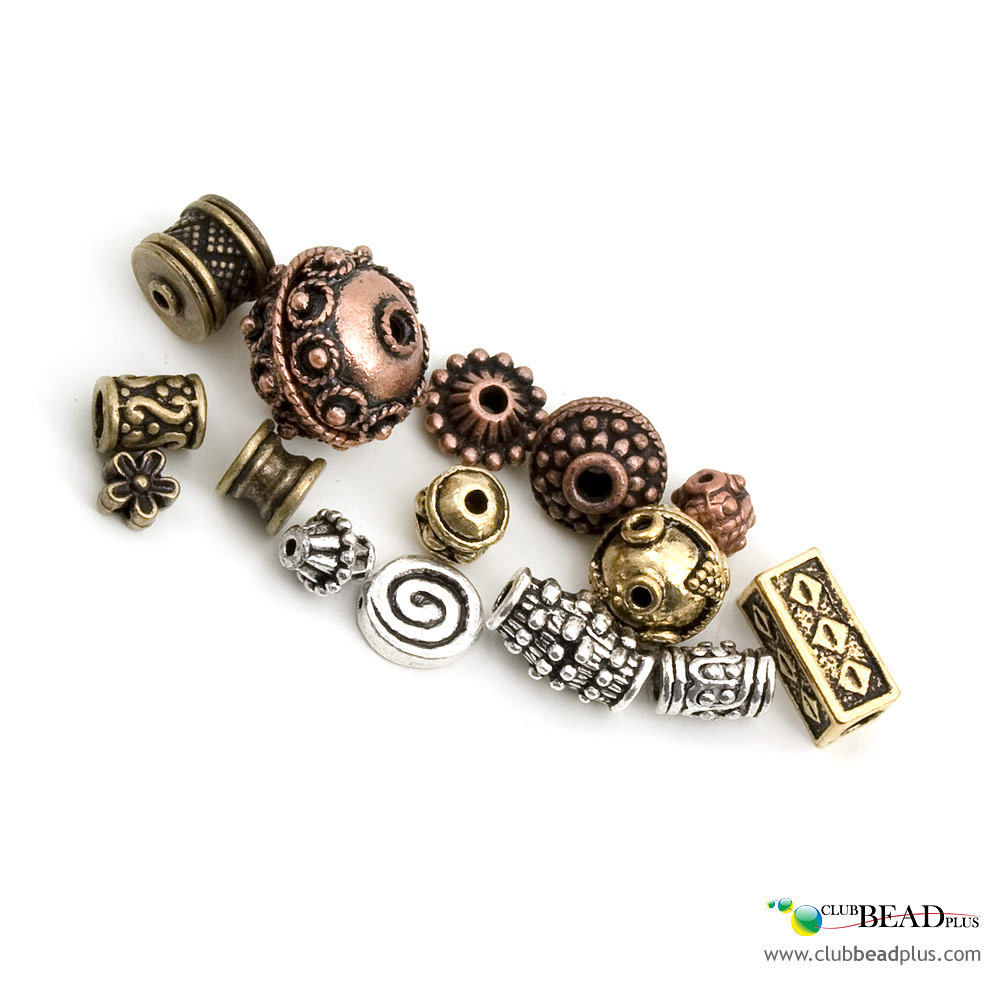
Metal
We can find
metal beads under various shapes. Beads are made with metal or plated with precious metal.
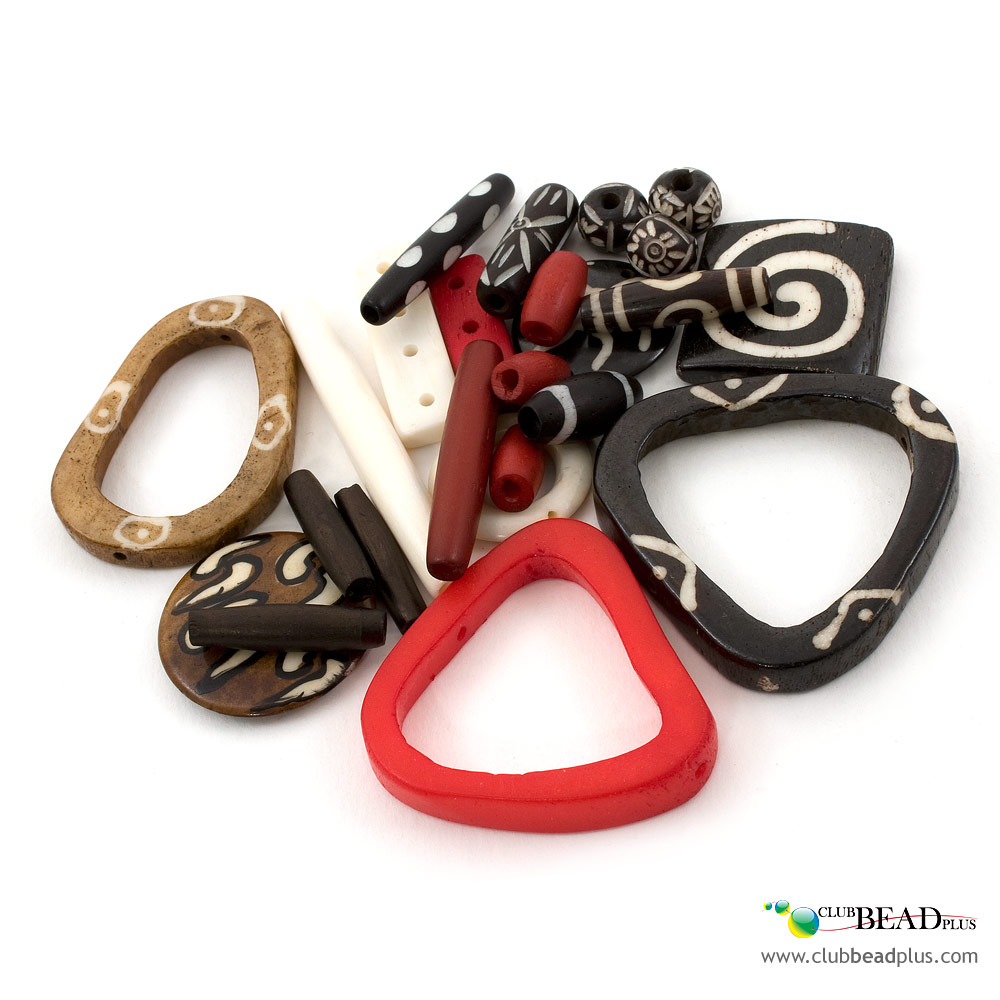
Bones
Bones have been used since the middle age to make jewelry. We can find dyed and sculpted bone beads of various shapes.
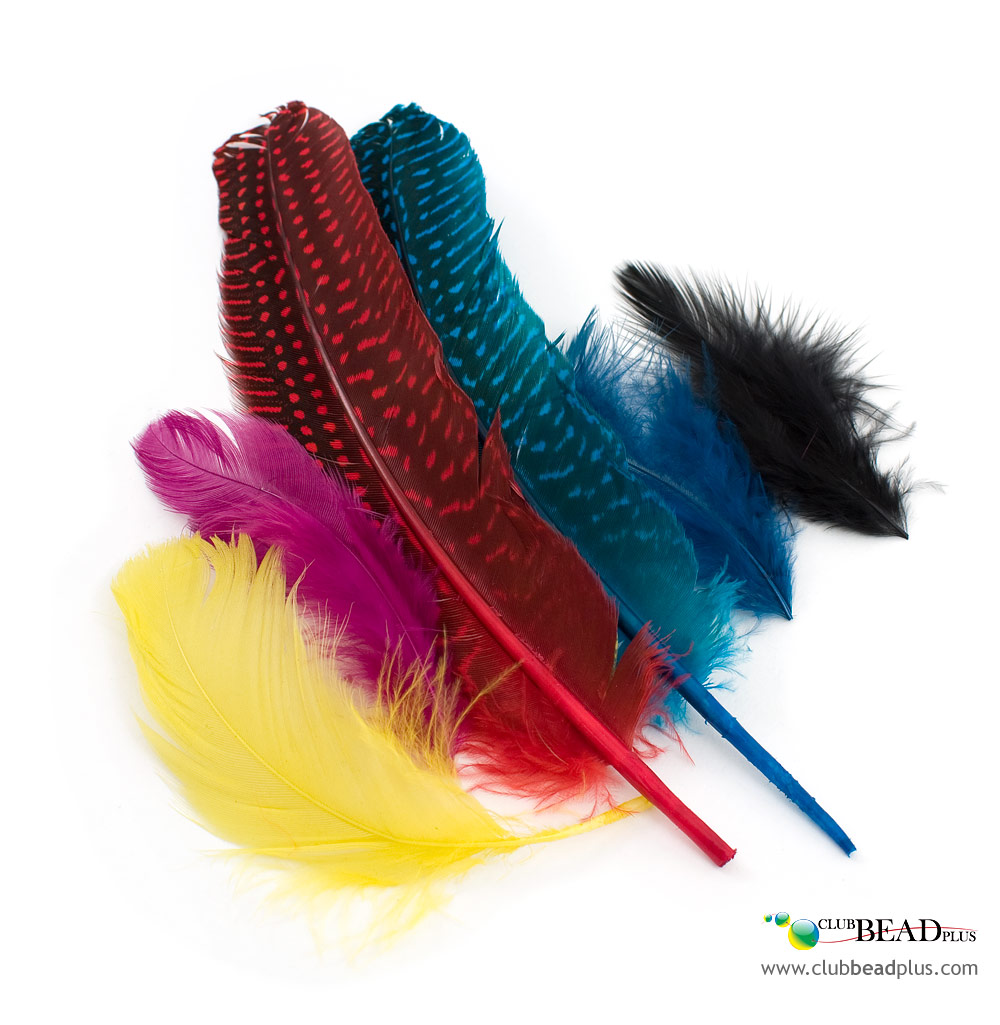
Feathers
There are so many different
feathers, dyed or of natural shades that can be added to jewelry. They are light and have a lot of volume.
Supports:
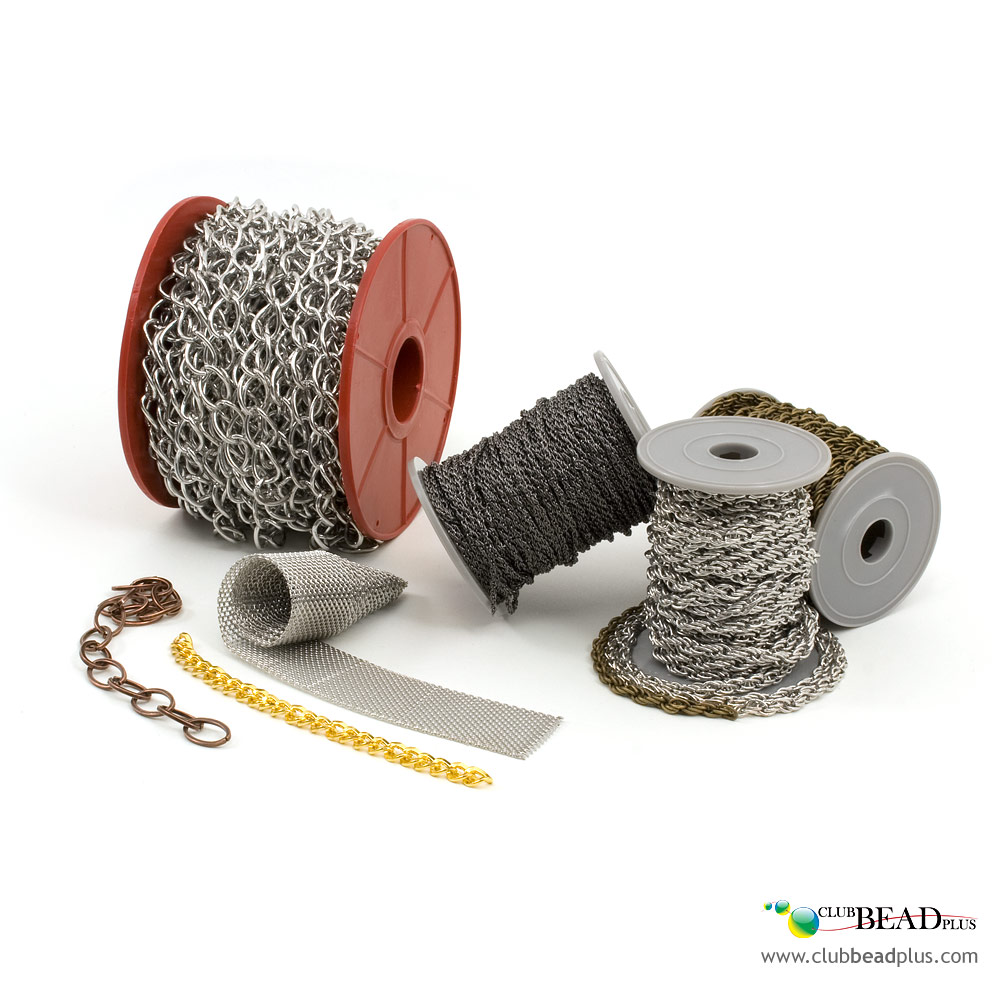
Chain
Chains can be used as a base in a jewelry piece or a decorative piece. It can easily be used to hang charms or to add links.
Memory wire
Memory wire is particularly known for its incredible resilience and its capacity to maintain its shape, just like a Slinky. Simply string the bead of your choice and make a
loop to each extremity to hold the beads.
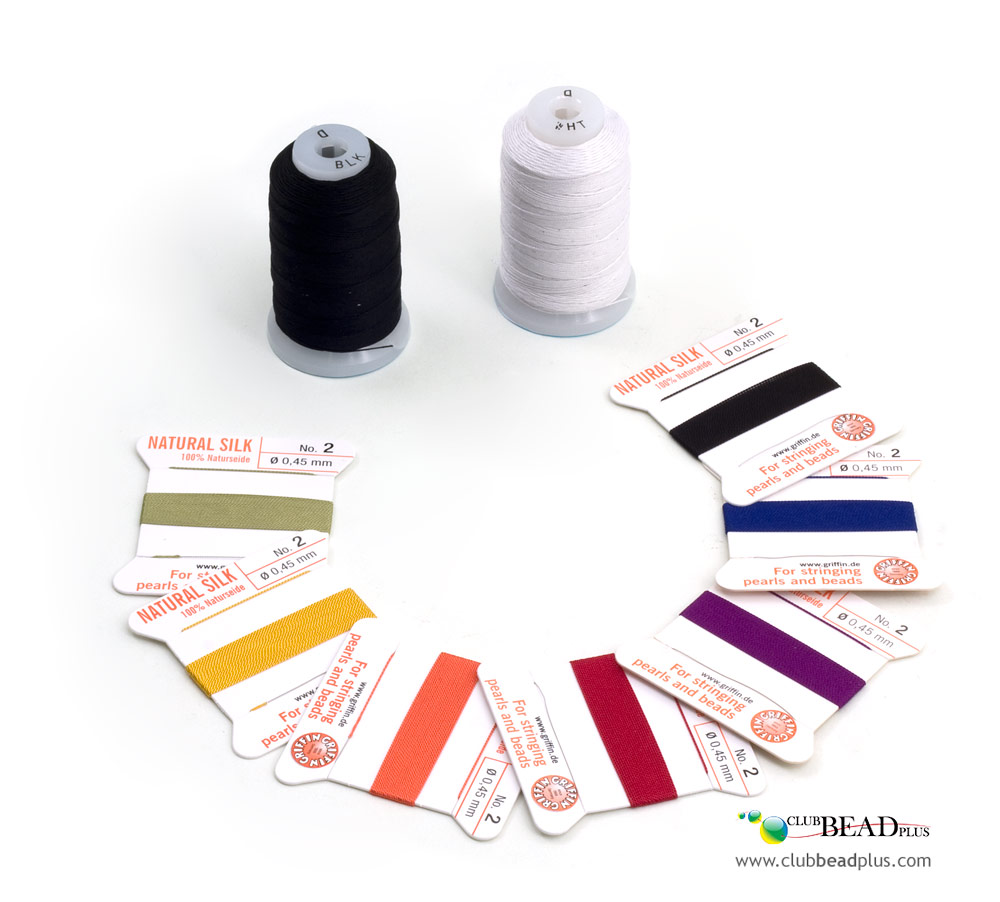
Silk string
Silk string is used to thread beads but mostly used for
traditional pearl stringing.
Nylon string (fishing wire)
Fishing wire is used in the confection of weaved jewelry pieces. Its transparent quality allows to hide the weaving, whereas its flexibility allows to make tight and solid weaving. It is usually used to string beads.
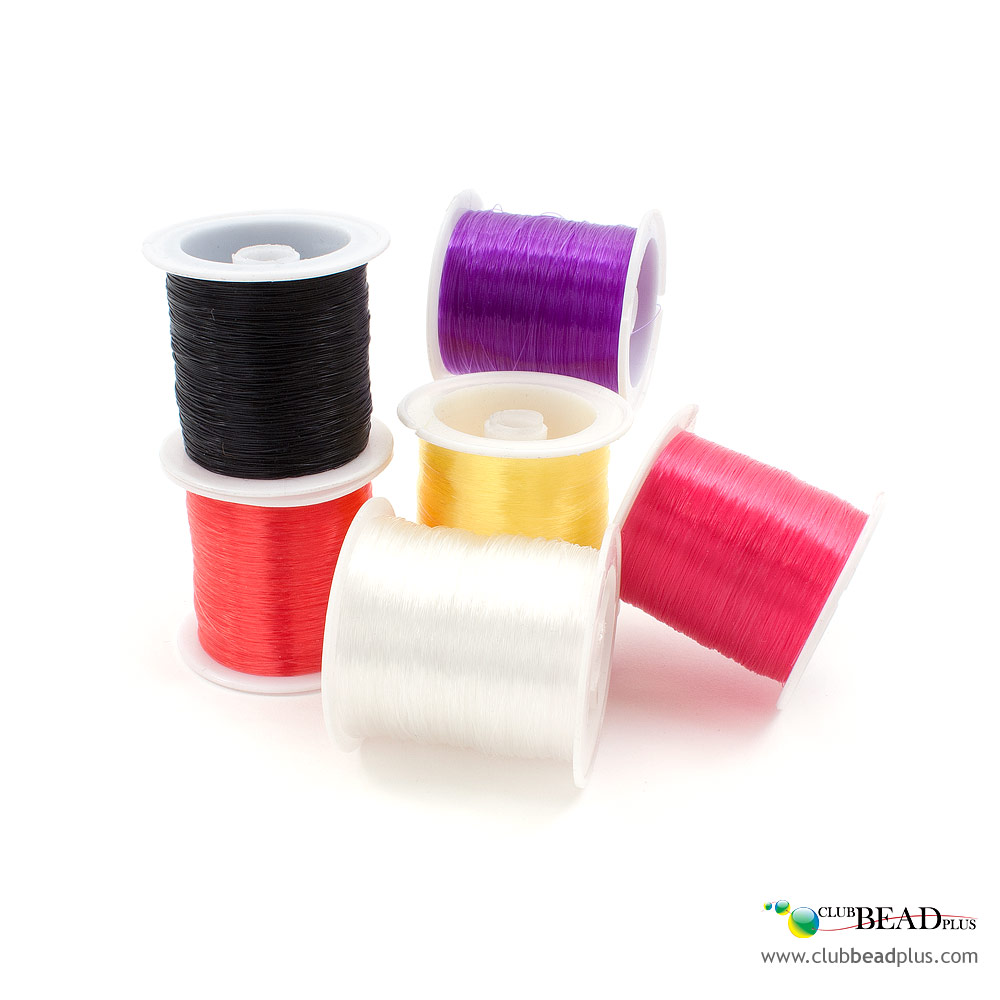
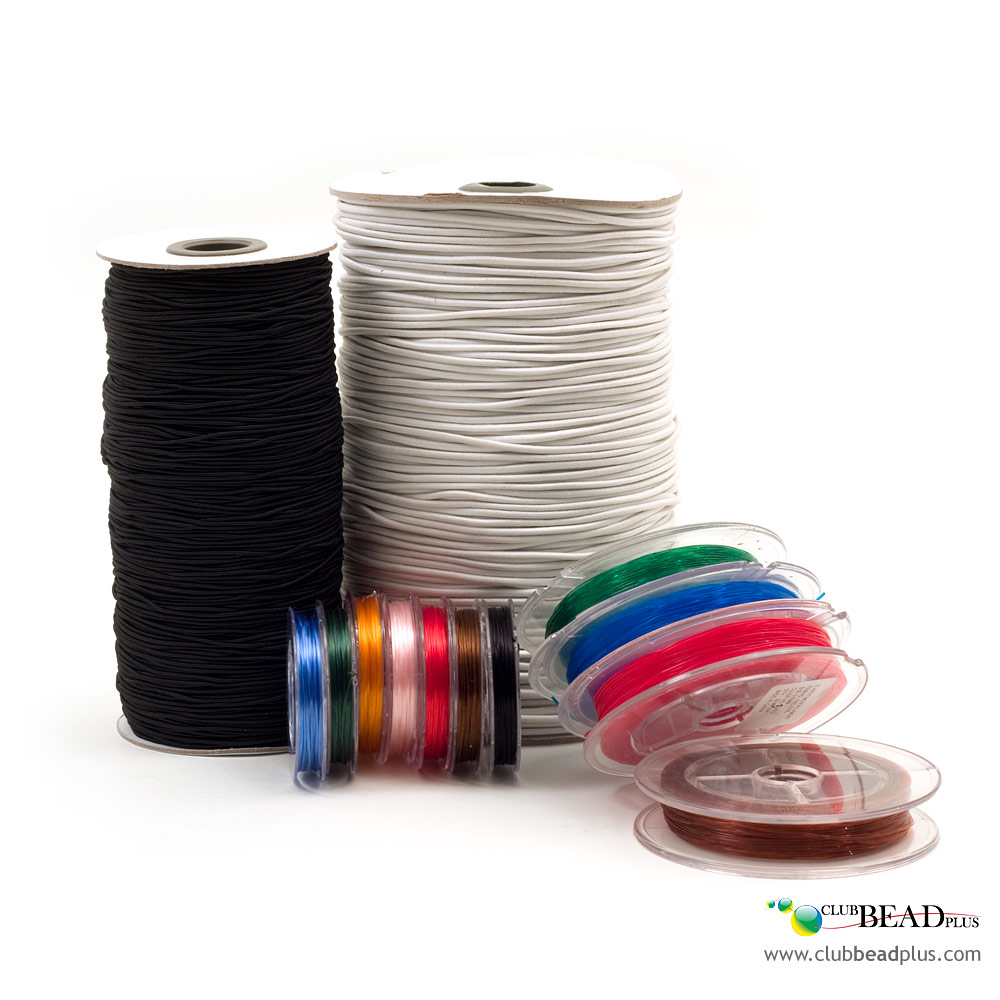
Elastic strings
Elastic strings is used mainly for bracelets. Simply string beads and make a solid
knot. It can also be used to weave certain types of projects.
Nylon covered steel (Tigertail™)
Tigertail is made of many twisted steel strings and is covered with nylon. The more strands there are, the more the string will resist when being bent and the more its flexibility is increased. The nylon covered steel string is more often used to
thread beads. It can also be used to hang beads when using
crimp beads.
Suedine and leather cords
Just like most
cords, they can be
braided, knotted or can be used to string beads.
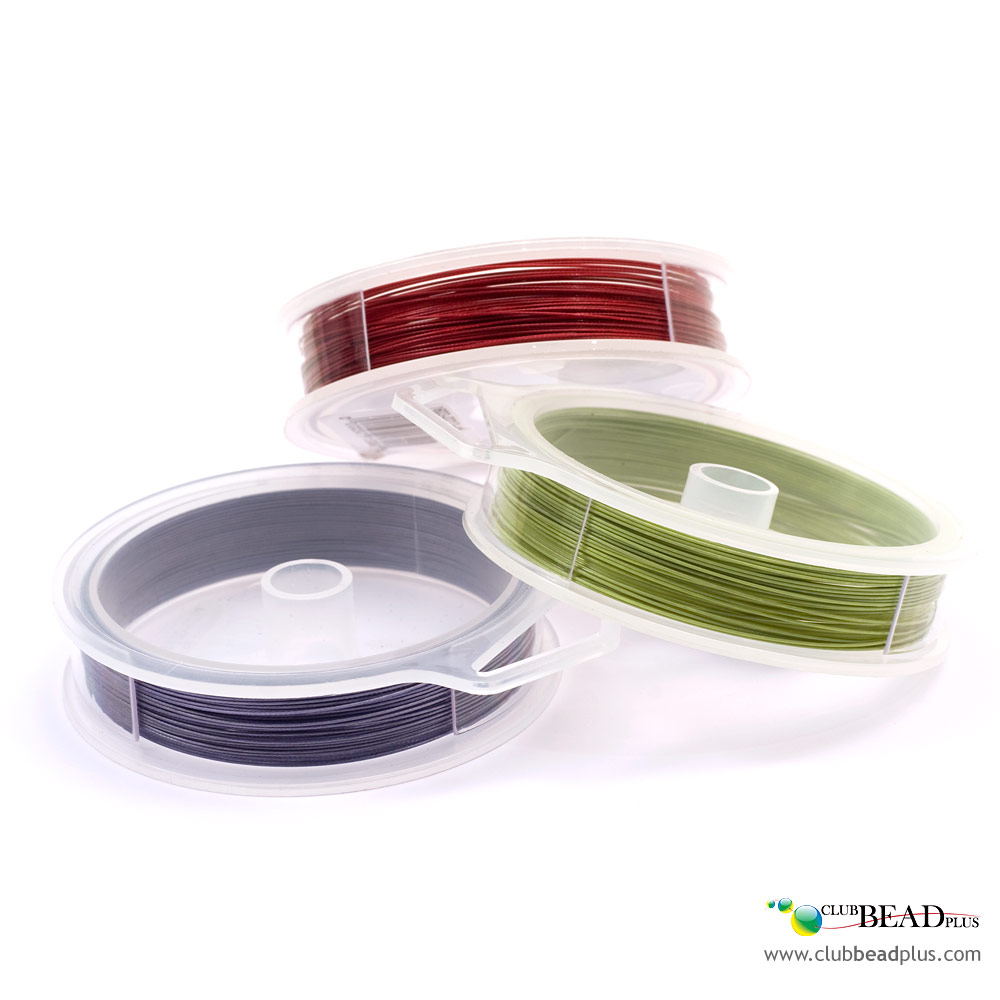
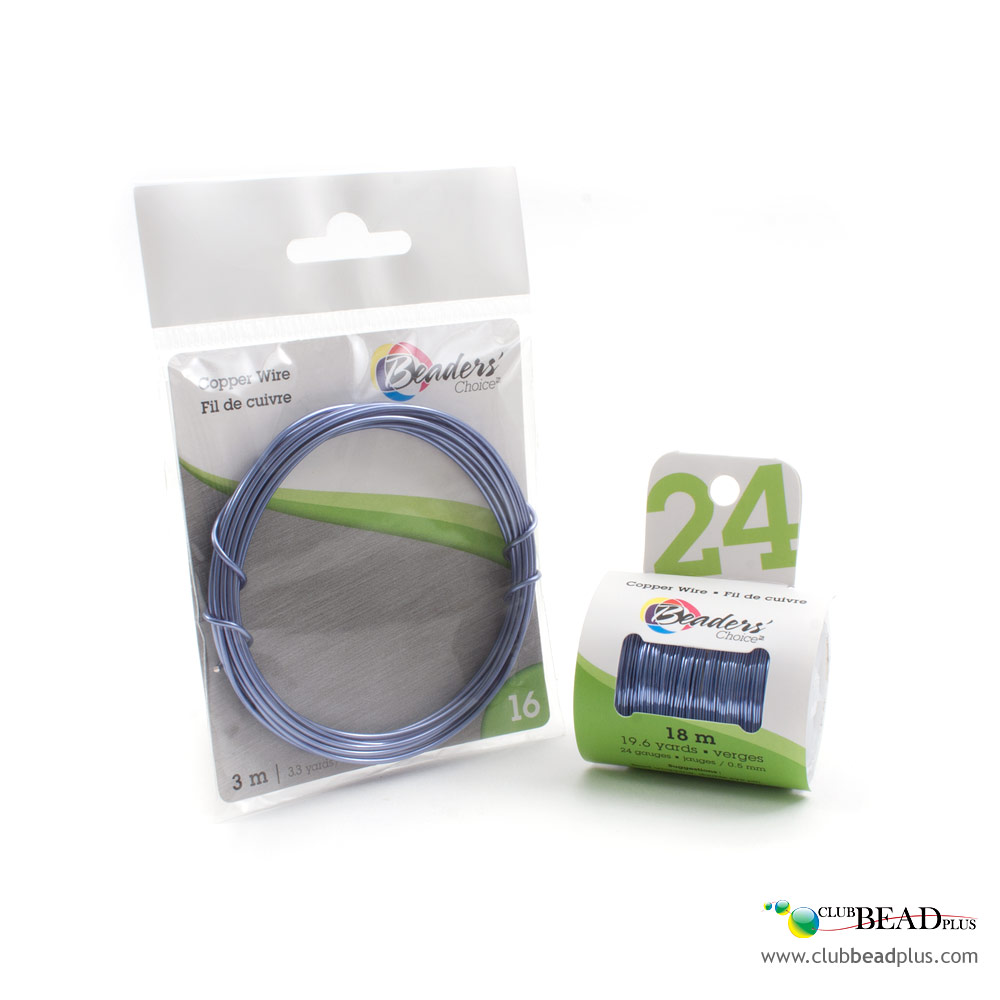
Cooper and aluminum wires
The
copper and
aluminum wires are metals that are easy to use because they are very malleable while being quite solid. It is possible to get a better density quite rapidly by working them with your fingers and a multiplicity of
tools created specifically for this type of support.
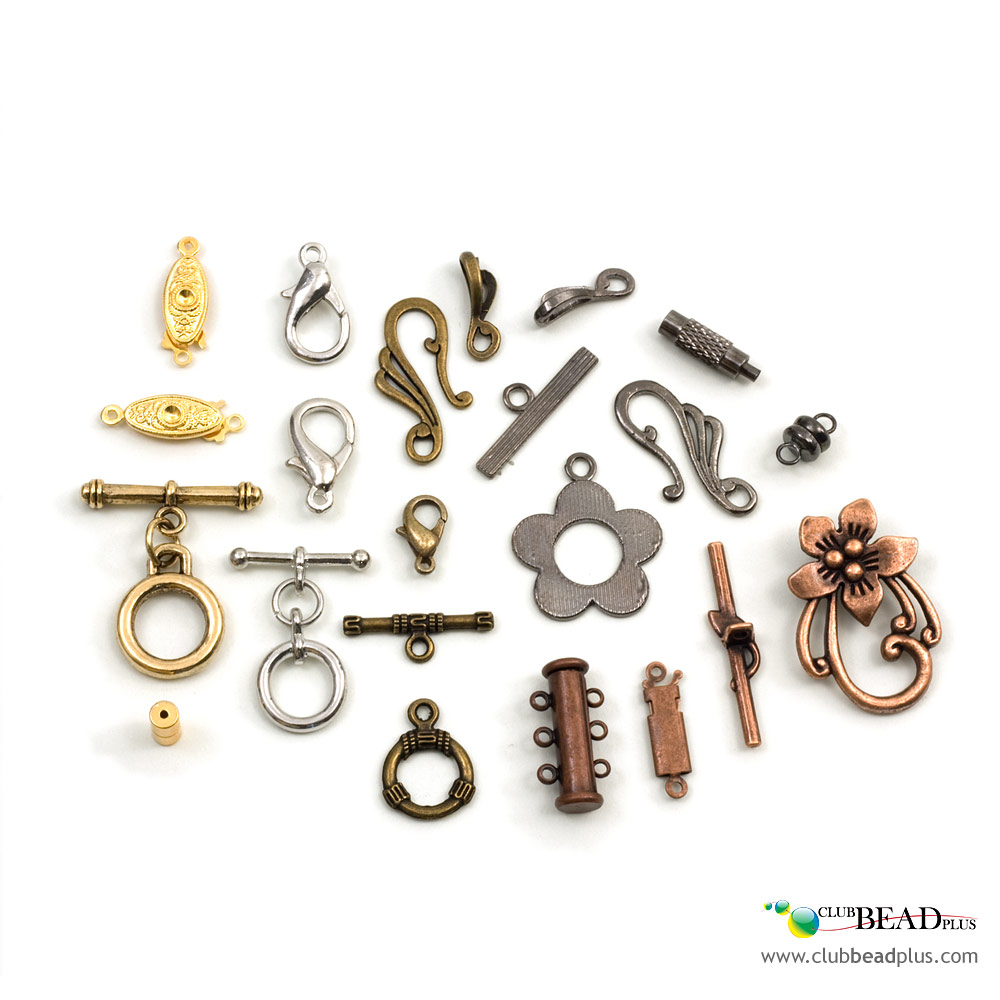
Finishing accessories:
The main accessories that you will use for of your projects are rings and clasps. Followed closely by earring hooks, connectors and head pins or eye pins. Here are some of the accessories commonly used:
Rings
Rings are probably the most important findings. They are used to help install
clasps,
charms and
pendants on supports. They can be opened and closed using two
chain nose pliers.
Clasps
There are several different varieties of
clasps, with
springs, to
screw on,
toggle, etc. Always choose a clasp according to the jewelry piece you want to make. For example, for a bracelet, a clasp that can be attached using only one hand will be favored.
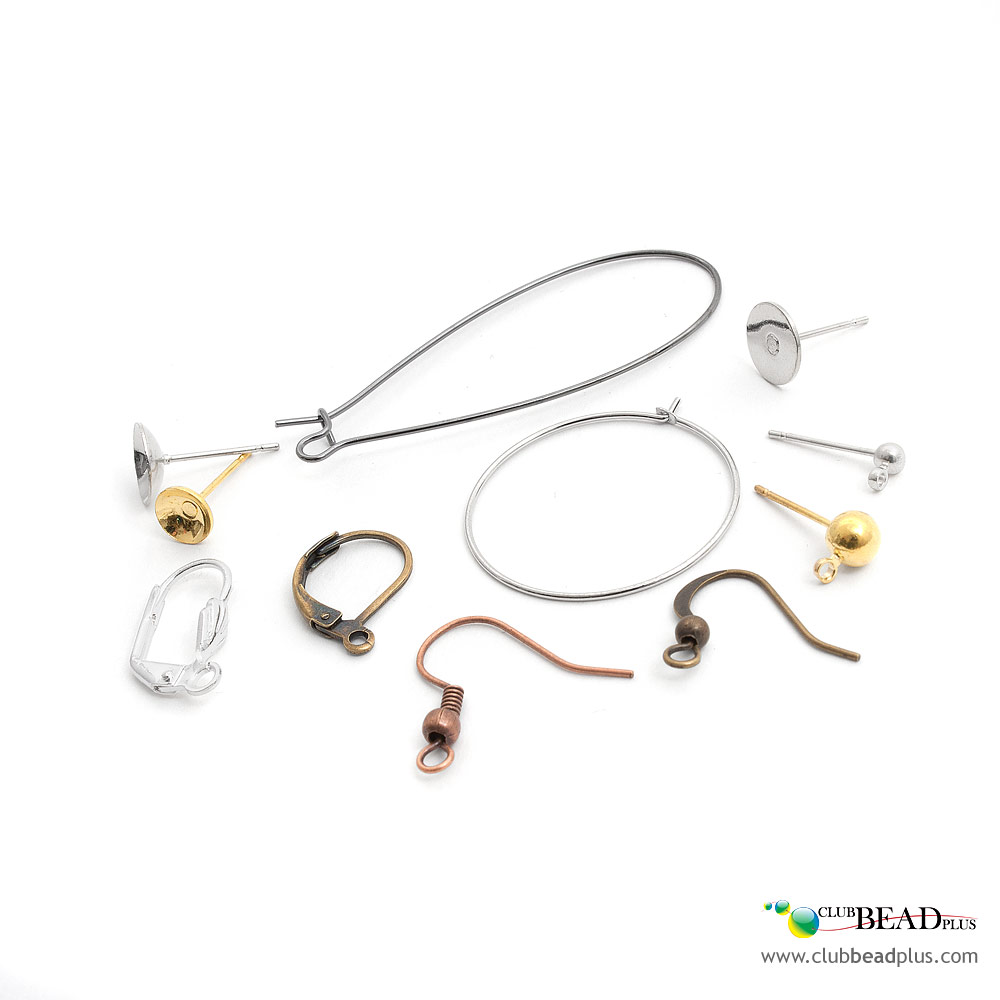
Earring hooks
There are several different varieties of
earring hooks. The beads can be hung or glued depending on the model.
Connectors
Connectors allow connecting supports (
cords,
ribbons,
chains, etc.) to clasps. They are chosen according to the type of support that will be used:
ribbon connectors,
feather connectors, etc.
Beads are threaded on them and then a
loop is made at the other extremity. Attaching a link or a charm to another element is then possible.
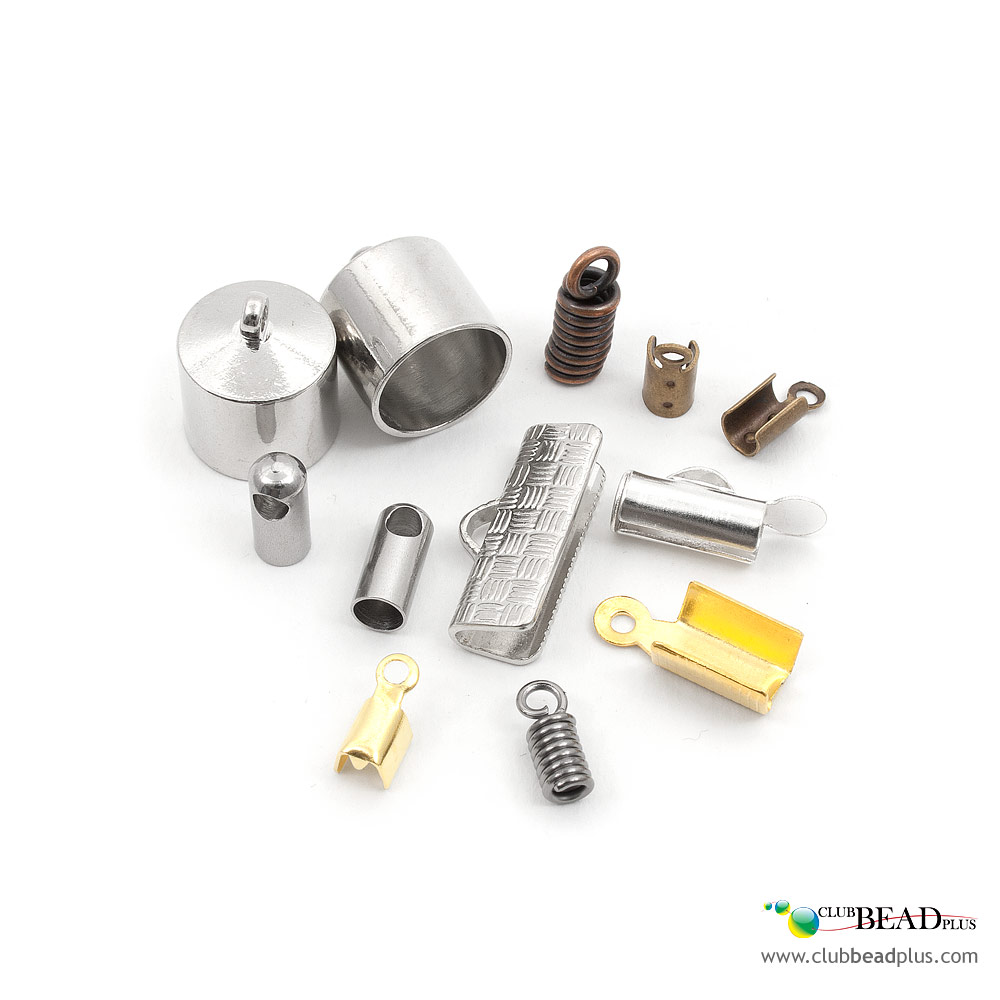
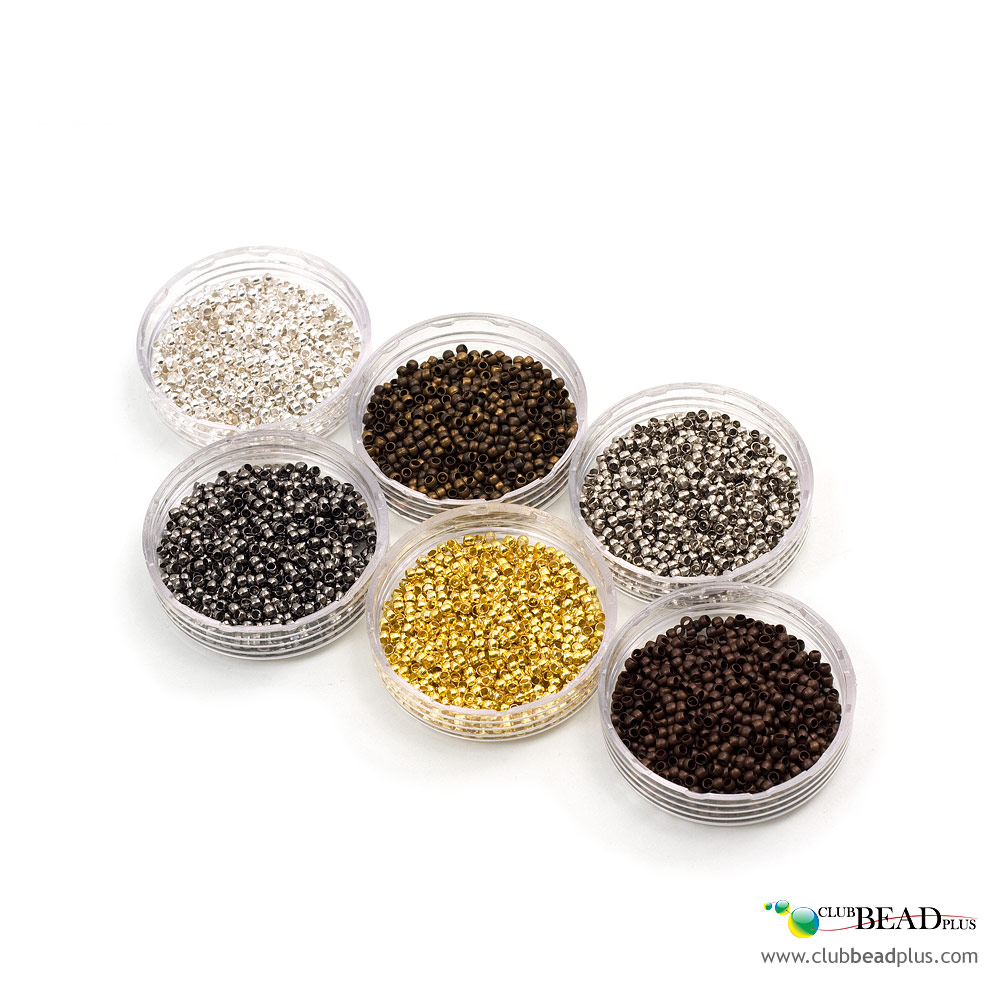
Crimp beads
Crimp beads also called crimps, are small metal beads that are crushed on
nylon covered steel strings. Because their metal edges are very thin, they are easily crushed and they then hook onto the nylon coat that covers the steel string.
Tools:
You can find here all the tools that are essential to start. There are also many other tools that are not vital tools but they can help you out or allow you to waste less time. You can get those later though.
Pliers
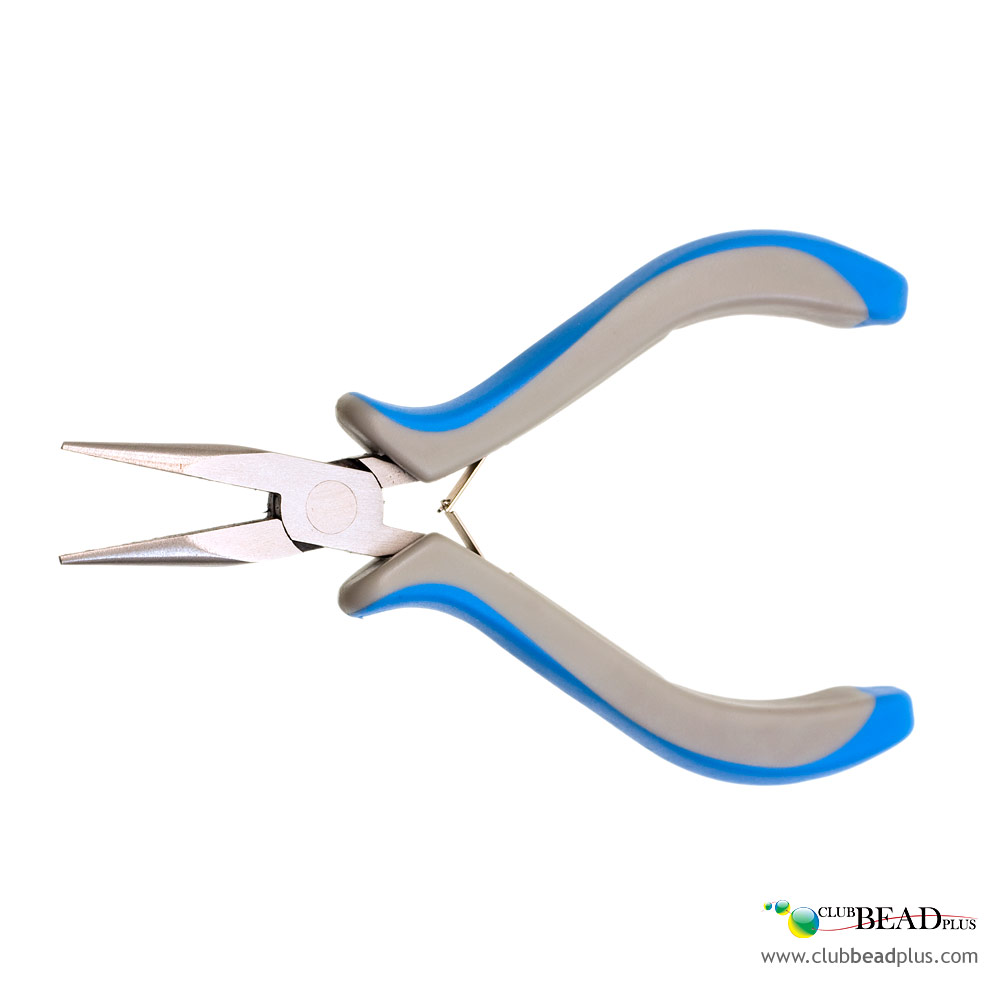
Chain nose pliers
The main tools and the first ones you should get are the
chain nose pliers. They will help you open and close
rings, bend metal rods and grab small objects. They are indispensable in a beginner's start kit. We recommend you buy 2 to start off.
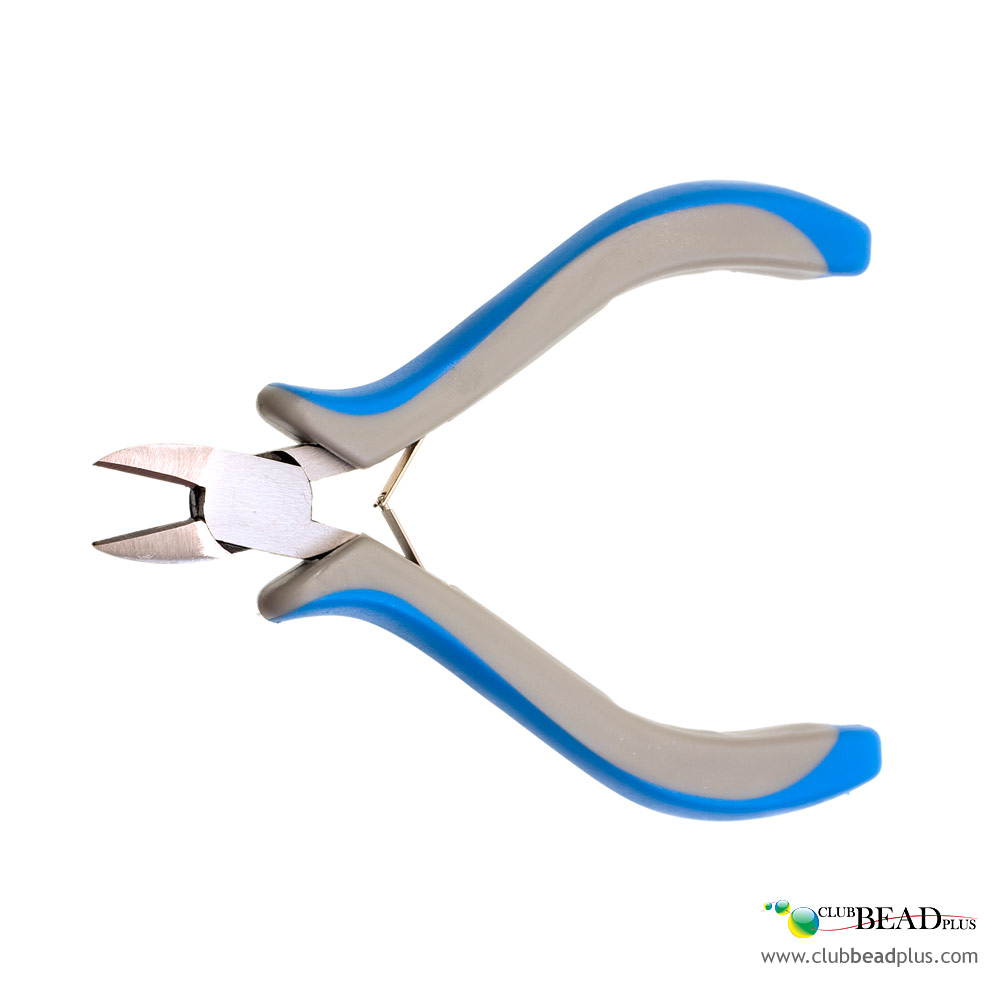
Cutter pliers
The
cutter pliers are also indispensable in a starter kit. They are used, amongst other things to cut strings such as the
nylon covered steel string,
copper and
aluminum strings,
fishing wire as well as
eye pins or
head pins.
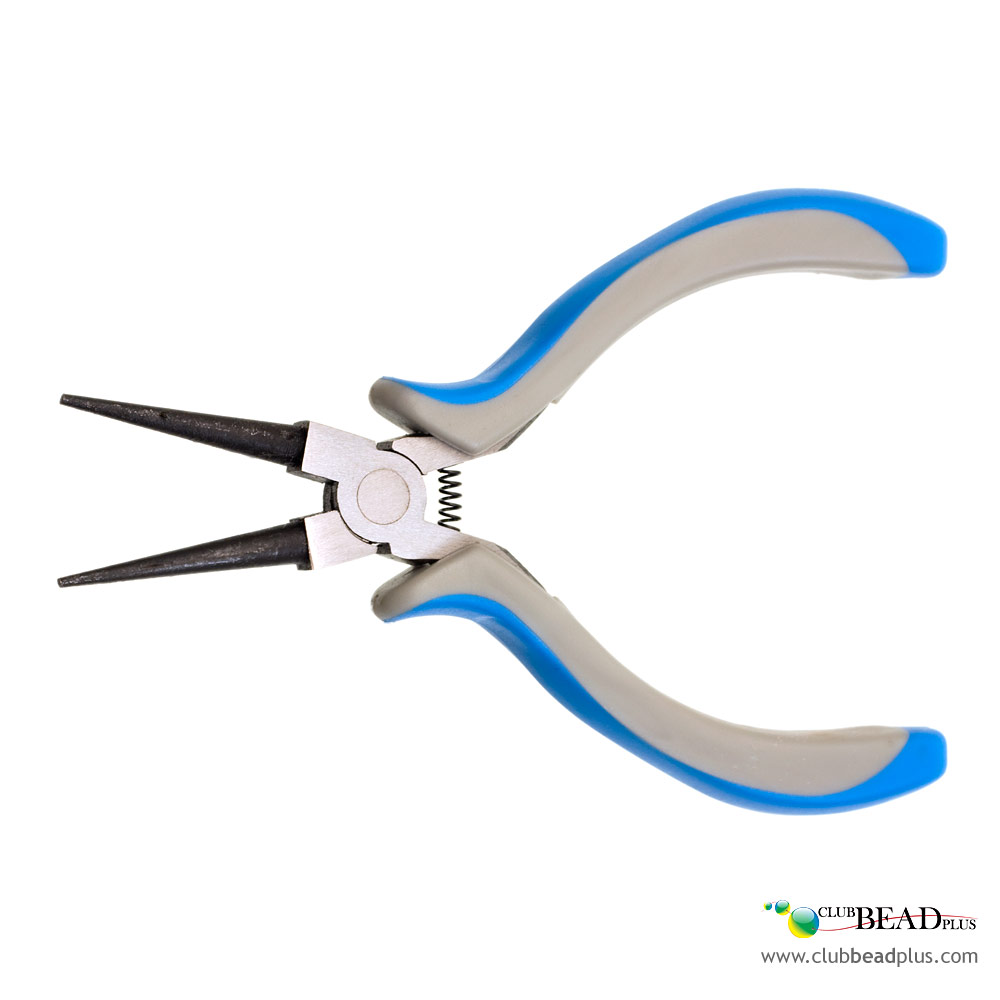
Round-nosed pliers
Finally, the
round-nosed pliers will allow you to make
loops with metal rods. They are indispensable if you want to make links or charms.
Needles
There are many
needles that are flexible and others that are more rigid. You will need them if you
weave or do
traditional bead stringing. They facilitate the stringing of some beads, mostly
seed beads.
Glues
We suggest you use 2 types of
glues to start; one fast action glue like the "
Adhesive G-S hypo cement" that you will use when doing minute projects and when you strengthen knots and a glue that bonds slowly like the "
E-6000 " that works on a variety of surfaces and that will be useful when gluing some finishing accessories (
connectors,
ring bases,
ear studs, etc.).
Then, depending on the type of project that you would like to make, you can get:
crimp beads pliers. These pliers are designed for crimp beads.
A
bead board is used as a working surface to make and design beads patterns and colors as well as to visualize the layout of the beads.
Conclusion :
As you can see, there are several important materials, accessories and tools and that we are certain you will be gaga for in time, as you master various techniques. For more information on this beautiful creative world, we invite you to consult our web site at www.clubbeadplus.com. In addition to being able to buy necessary materials, you will find a bunch of information on fabrication techniques. Make your own jewelry; that's a nice way to show your personality!
Enjoy creating!
The Club Bead Plus team