


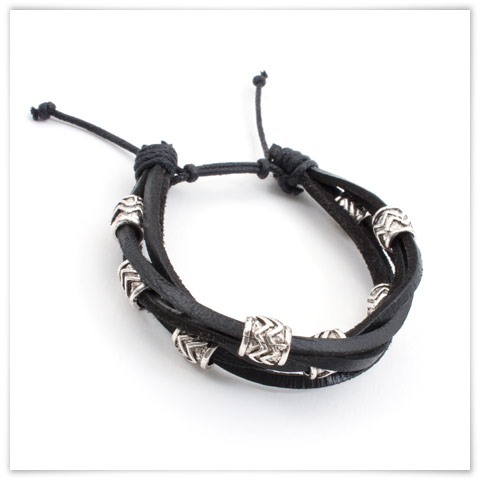
Project - Yzel
Bracelet made with leather bands on which are strung metal beads, the whole of it is tied to a sliding clasp made from waxed cotton cord
Material
- 94 cm of 3 mm flat leather cord, black
- 60 cm of 1 mm waxed cotton cord, black
- 8, 7 to 9 mm metal cylindrical fashion jewelry bead, nickel
Tools
- Scissors
- Transparent liquid glue
- Ruler
How-to steps
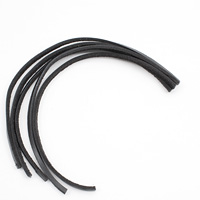
Step 1
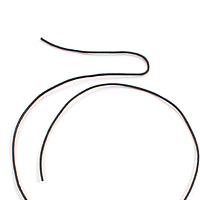
Cut the leather cord in 5 equal parts of about 18.5 cm each.
Step 2
Then, cut the waxed cotton cord in two equal parts of about 30 cm each.
Step 3
Gather the leather cords on one end so as for them to be even.
Step 4
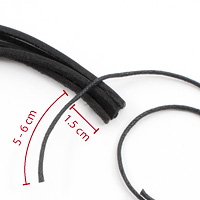
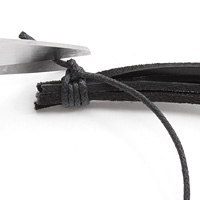
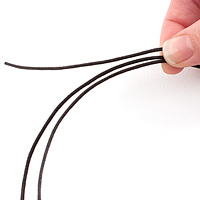
Position the tip of the cotton cord to approximately 1.5 cm of the tip of the leather cords by keeping an excess of 5 to 6 cm, as illustrated.
Step 5

Using one hand, keep the leather cords and the end of the cotton cord in place. Using your other hand. Wrap 4 times, solidly and fully, the longest end of the cotton cord around the leather cords.
Step 6
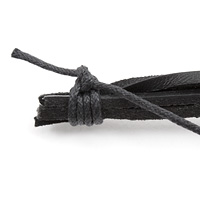
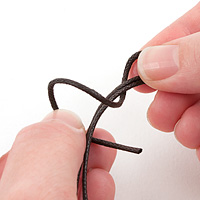
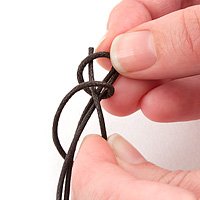
Tie the 2 ends of the cotton cords together with a flat knot, as illustrated.
Step 7
Add a drop of transparent liquid glue on the knot. Let it dry, then, cut any excess leather cord on the shortest one. The longest extremity will be used in the final steps.
Note:If you do not have transparent liquid glue, use some transparent nail polish. You can also shorten the leather cords’ ends.
DECORATING LEATHER CORDS
Step 8

String a cylindrical metal bead on 2 pieces of leather cord randomly chosen and put the bead near the cotton cord’s tie.
Step 9
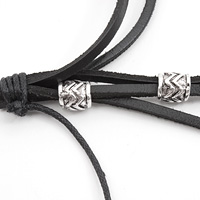
Choose one of the two cords on which the bead was strung and choose another one that is right besides it. Then, string a second metal bead on these two cords.
Step 10

Randomly string the other metal beads while taking care to always insert 2 cords and to make sure they intertwine.
Step 11
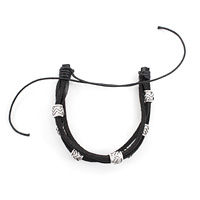
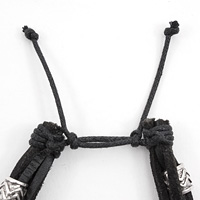
Once all the beads are strung repeat steps 3 to 7 to gather the leather stings.
Step 12
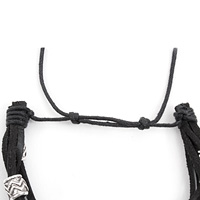
Cross the cotton cords as illustrated.
Step 13
Measure approximately 5 cm from one of the ends and fold the cord on itself.
Step 14
Keep the fold in place with your right hand.
Step 15
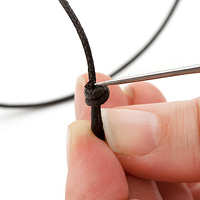
Using your left hand, take the shortest extremity of the cord and wrap it once around the two others.
Step 16

Pass the piece of string in the fold that you are holding in your right hand. Tighten the knot without pulling too hard, so that it can move on the cord.
Cut any excess string.
Step 17
For added strength, add a drop of glue on the knot. You can apply it with a point or a beading awl. This will prevent you from putting too much glue on the knot. Make sure that under no circumstances the glue affects the central cord. Otherwise, your knot will no longer slide.
Step 18
Repeat steps 14 to 16 with the other extremity to create a second knot.
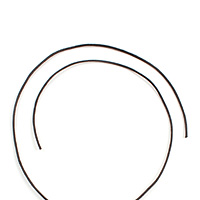
Step 19
Make a stop knot at an equal distance on each cord, according to the desired length. Add a drop of glue on the knots and cut any excess cord. These cords will enable you to adjust the length of the bracelet on your wrist.