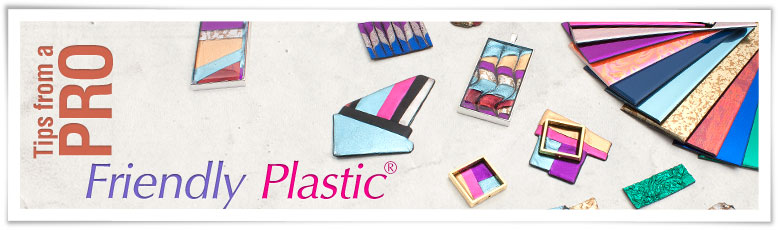
Tips from a Pro - Friendly Plastic®
★ Please note that Friendly Plastic® products
are no longer available at Club Bead ★
Our designers have tested for you the
Friendly Plastic®. Discover their tips on how to use it.
What is Friendly Plastic®?
Friendly Plastic® is a plastic that is light, flexible, easy to use and 100% non-toxic. It allows you to create jewelry pieces that are light, unique and original. You can shape it, texture it and create nice personalized patterns. How can you use it? Simply heat the Friendly Plastic® to soften it and shape it to your taste. There is no need for specialized tools, you can even shape it with you bare hands once the plastic has softened.
You like discovering new material and make your own pieces? This is definitely for you!
Material needed
- Anti-adhesive sheet
- Big scissors or utility knife
- Bowl of cold water and ice cubes
- Friendly Plastic® strips
- Heat source (Conventional oven / Electric skillet / Hot water/ Heating tool)
- Ruler
Optional Materials
- Bead roller
- Beading awl
- Casting resin
- Cooking oil
- Friendly Plastic® marbling comb
- Hardwood modeling tool
- Mini cookie cutters of various shapes
- Perforating tool
- Various molds
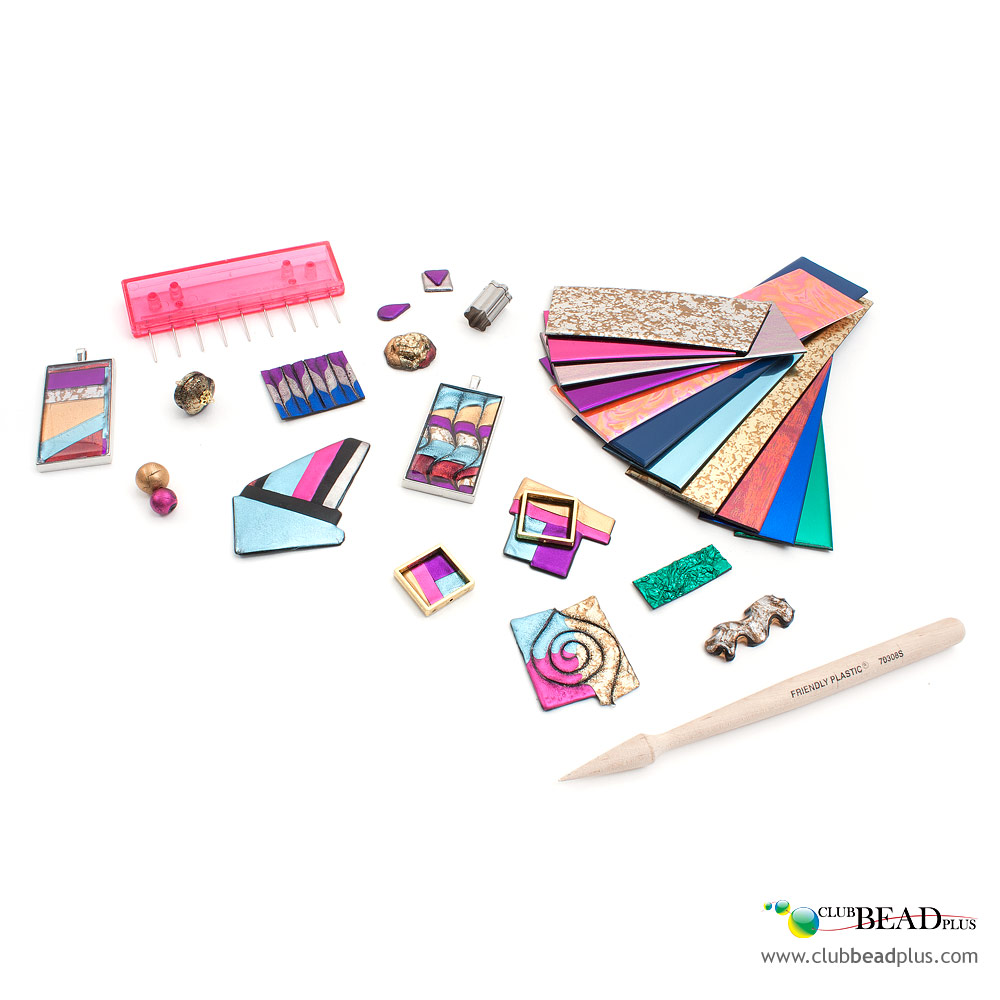
What can you do with Friendly Plastic®?
Friendly Plastic® offers many possibilities. It can be heated, cut, shaped, molded and textured. You can also create patterns, make beads and so much more!
Heat
Friendly Plastic® must be heated to work with. It can be heated in the oven, or on in an electric skillet filled with water, using a heating tool or simply in hot water. Friendly Plastic® does not emit any particular odor when it is heated and it softens quickly which makes it an enjoyable matter to work with. The recommended oven temperature should be between 200˚F to 225˚F and it should take from 1 to 4 minutes to be ready. When heated, it becomes malleable. The plastic then hardens when it cools. After heating, the plastic should be warm to the touch, without burning your fingers. When you are satisfied of you piece, simply submerge it in cold water to make the plastic harden.
If you heat the plastic in the oven, place it on an anti-adhesive cooking sheet. You can also protect the cooking sheet with some parchment paper or a bit of cooking oil. The hot plastic sticks to the aluminium. If you are using an aluminum cooking sheet or foil paper, it is preferable to grease the surface with a bit of cooking oil to prevent the plastic from sticking to the metal. Psst! Even without the oil, the plastic will easily come off a foil paper if it is all (the plastic and the foil paper) put in cold water after it has cooked, then simply pull delicately the plastic off the foil paper.
If you have an electric skillet, you can fill it with water and put the strips of plastic in it once it has reached the desired temperature.
For more detailed heating instructions, consult the Instructions for working with Friendly Plastic®.
Can the plastic be reheated several times?
The advantage of Friendly Plastic®, is that it can be reheated several times, which allows you to cook it in a few steps. This will allow you to put the finishing touches on your creation if it is not to your liking and you can reuse the shreds. Some designs, more complex than others, require to be cooked more often than others. For example, the creation of a pattern and the making of a bead with this pattern will have to be done in 2 steps. You must always keep an eye on the plastic while it cooks, because if it is cooked too much, it can burn or alter the metallic aspect of some plastics.
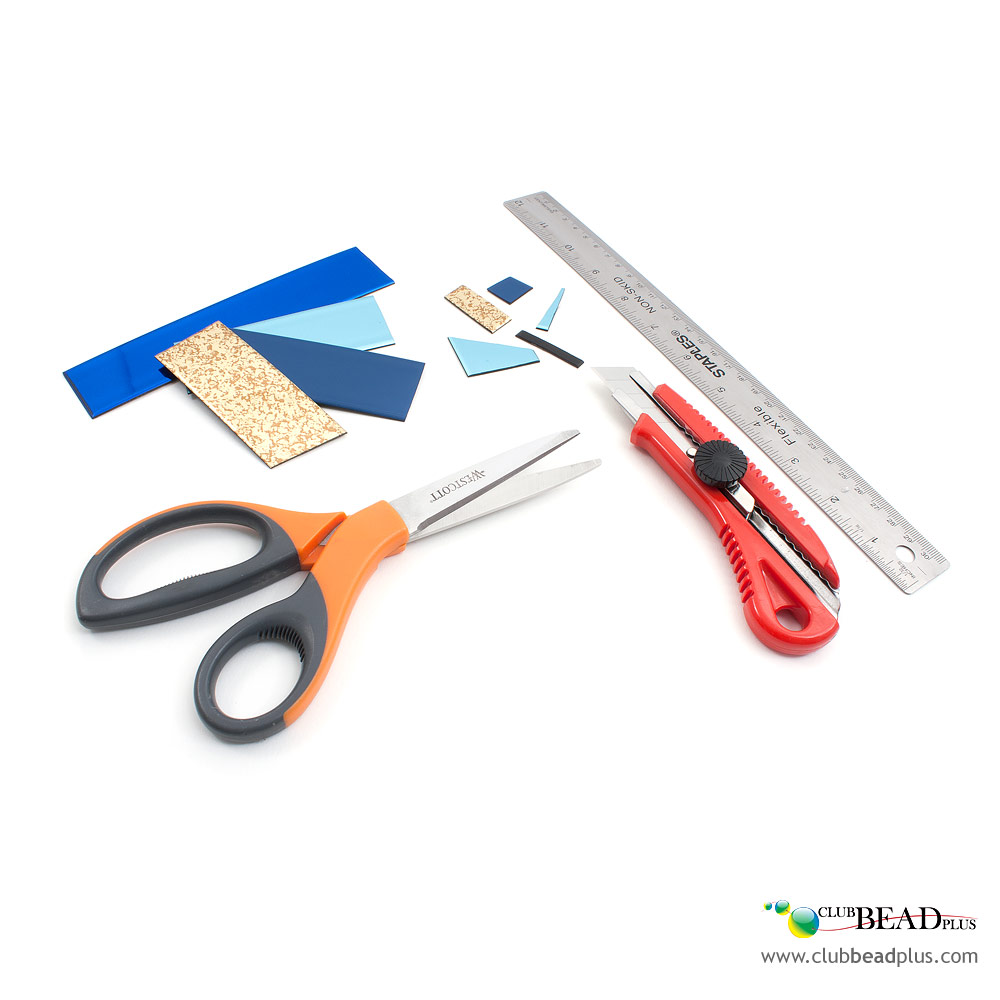
Cut
The plastic can easily be cut with big scissors or a utility knife and a metal ruler. After having tried both, we found out that we preferred working with big scissors because they are easier, faster and safer.
What should you do with the little pieces?
Keep them! The shreds can be used to make nice mosaic or confetti’s patterns or be used to make beads.
Shaping

When the plastic is softened, it can be worked with your hands easily. You can give it some volume, twist it, mix it with other colors or make beads or shapes of all kinds. It is possible to make 2 pieces melt back to back so your piece has color on each side. If the softened plastic hardens too fast, reheat it a bit to continue working with it.
Molding
Softened plastic can easily be molded. If the mold is not anti-adhesive, oil it beforehand. Silicone molds do not stick to plastic.
Simply press the softened plastic in the mold. When the plastic has set, remove it from the mold then cut any excess you can then create all sorts of bezels!
Texture

You can also add texture to the plastic by imprinting a pattern with a stamp, a metal string, a metal pendant or wrinkled foil paper. If the material chosen to add texture sticks to the hot plastic, grease it lightly before pressing it against the plastic.
Creating patterns
Flat patterns
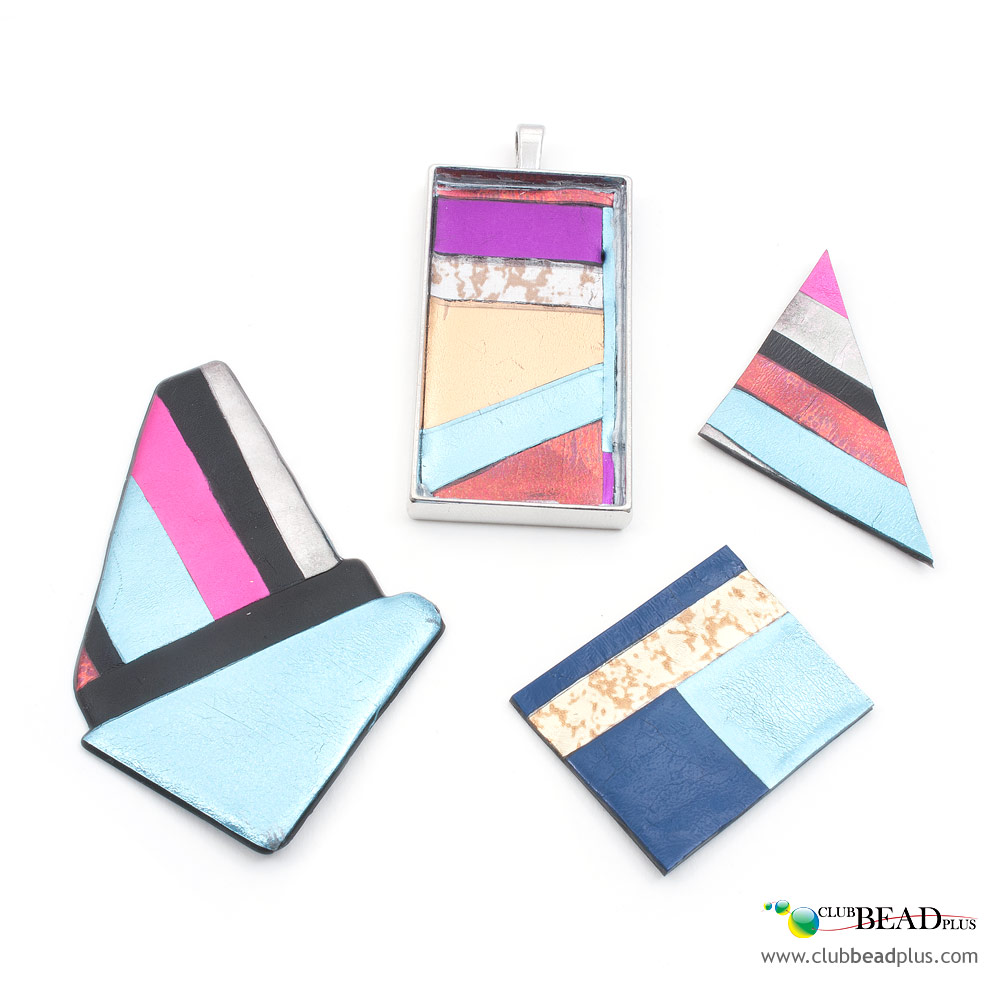
Friendly Plastic® can also be mixed to other pieces of Friendly Plastic®. You can cut pieces of various colors and mix them to make stripes, small mosaics or a confetti aspect. Do not hesitate to use your shreds to make patterns.
Warning: The plastic shrinks when heated, which sometimes complicates the making of patterns.
A little tip: when the plastic has softened and space has been created between the different pieces, take the piece out of the oven, put on a protective glove and apply a little bit of pressure on each side of its junctions to lightly press the plastic towards the hole that formed. Then, press on the junctions to help the various plastics to melt together. Remember that this requires a delicate touch and a lot of dexterity because it can deform the plastic and damage its finish. Also, the surface might be a bit lumpy after this last step. No worries! Simply put the piece back in the oven and the surface will be smooth again.
Layered patterns
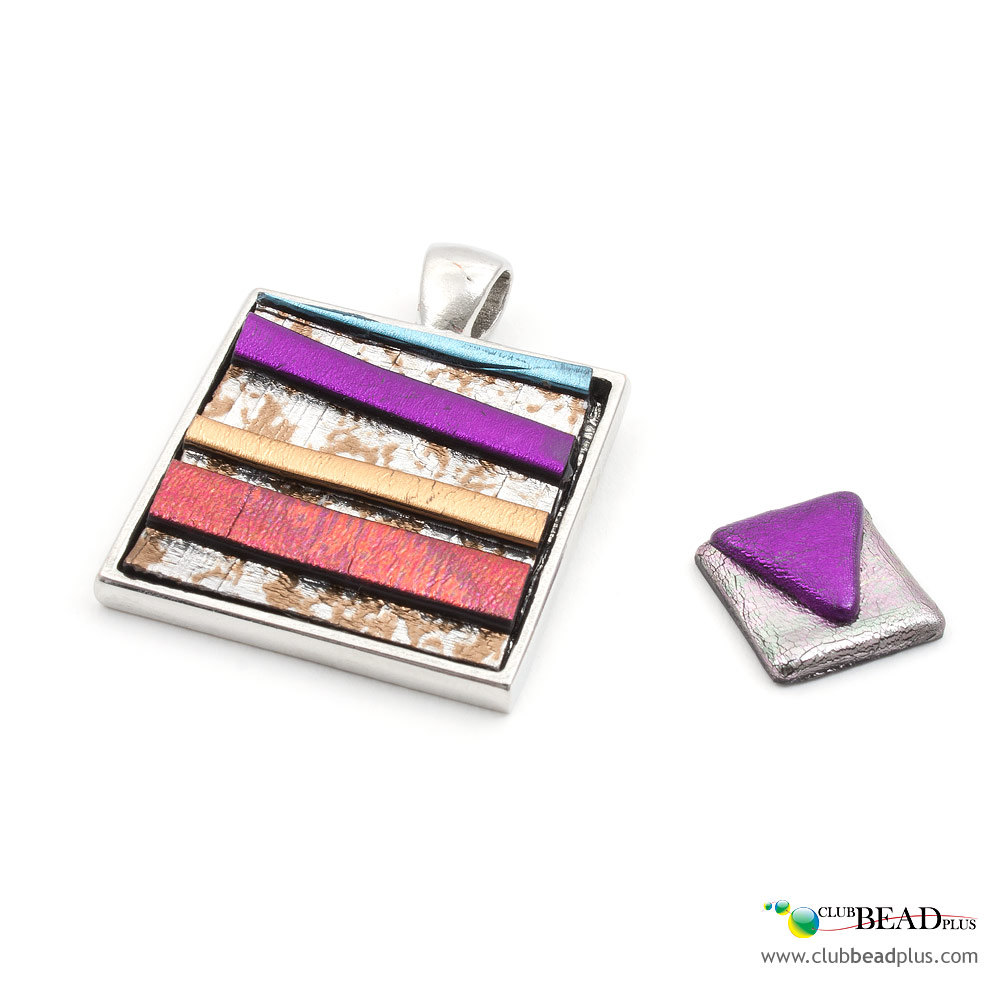
You can also place the plastic pieces on more than one layer, by adding pieces on a bottom layer. The various layers will merge when heated.
Tools to make patterns
Some tools are also available to help you make patterns, once the plastic has softened.
Marbling comb
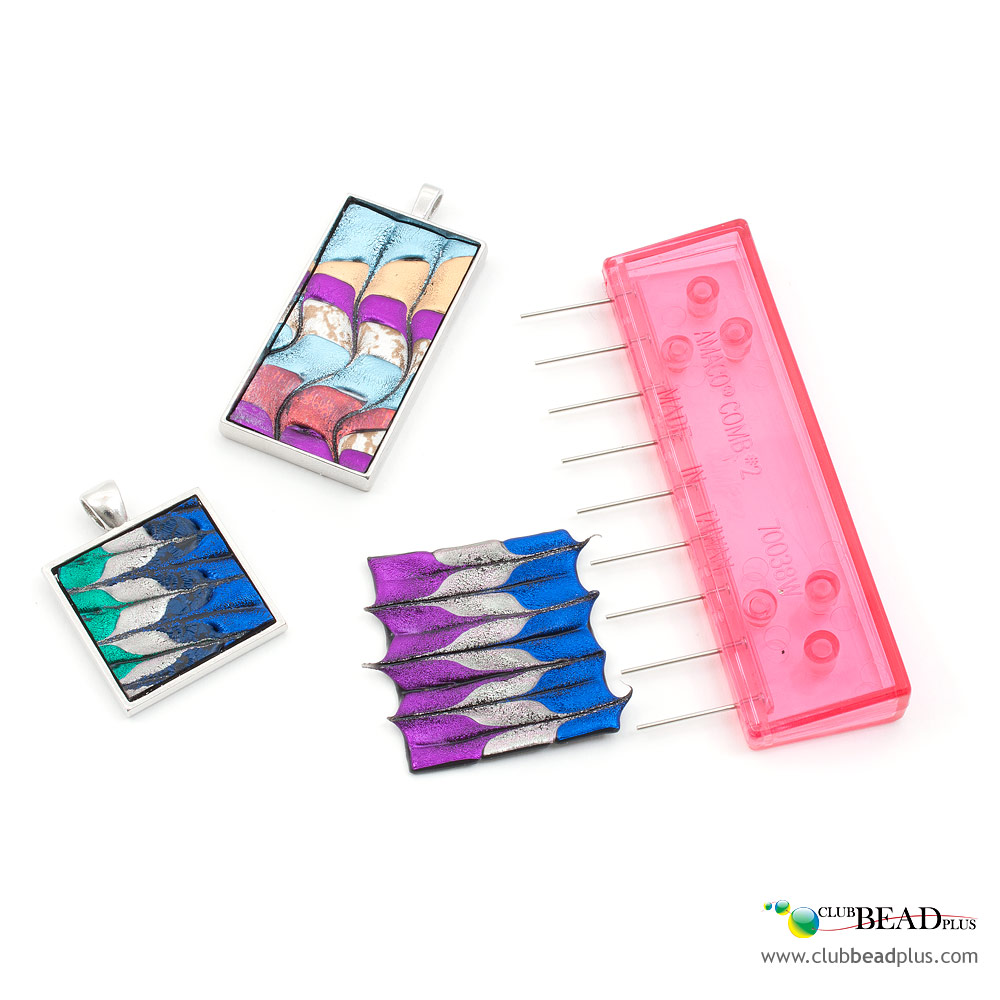
The marbling comb allows you to trace many parallel lines (straight or curved) at once. This comb can also help create patterns that looks like the icing on a Napoleon pastry (millefeuille) by passing the comb a first time, then a second time in the opposite direction, between the lines already traced. It seems elaborate but it is quite easy to make.
Please note: the softened plastic must be laid flat so that all the teeth of the comb make lines that have the same depth in the plastic.
We noticed that the comb works better with plastics that have a metallic aspect rather than a matte finish. When heated, the finish of matt colors, when manipulated, is more prone to crack.
Modeling tool

Hardwood modeling tool allows you to trace lines in softened Friendly Plastic®. Simply draw lines, curves, spirals, dots etc with the pencil. You can also use a sharp tool such as a beading awl, however the metal tip sticks a bit more to plastic than when using a tool made of hardwood.
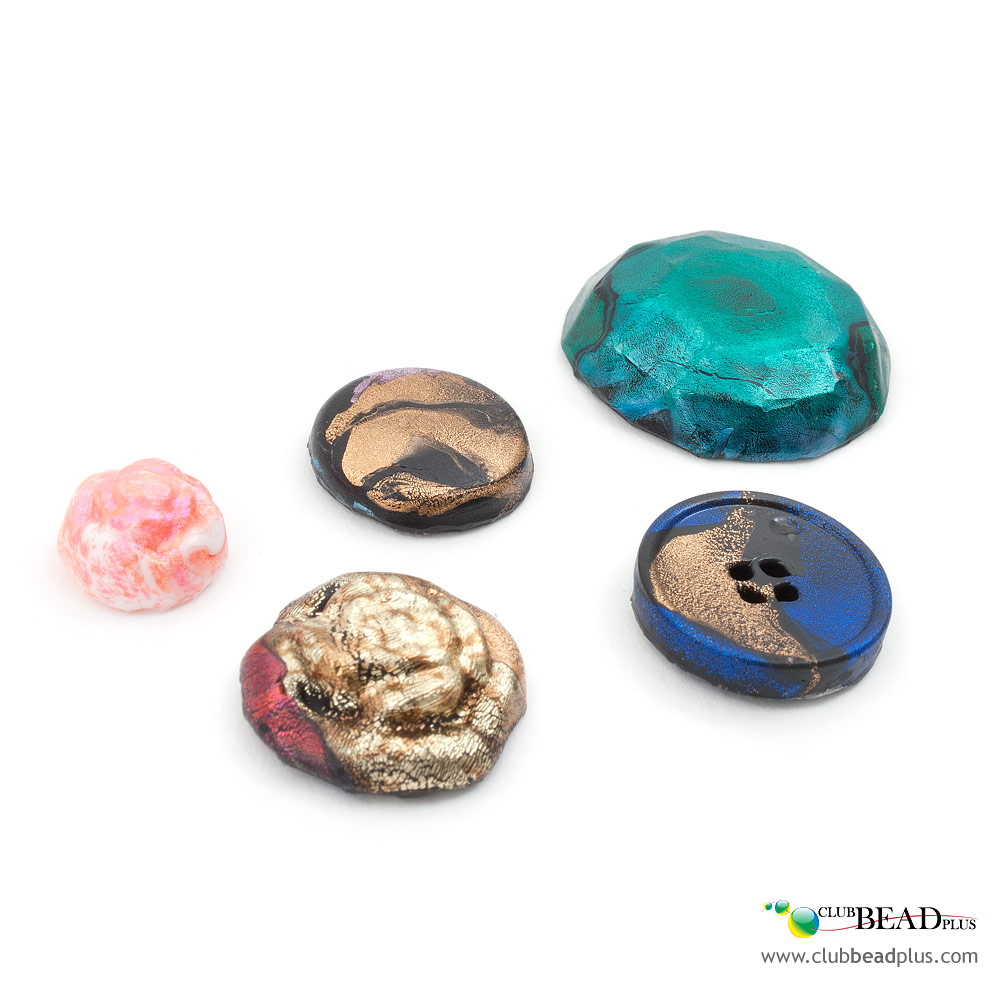
Making beads
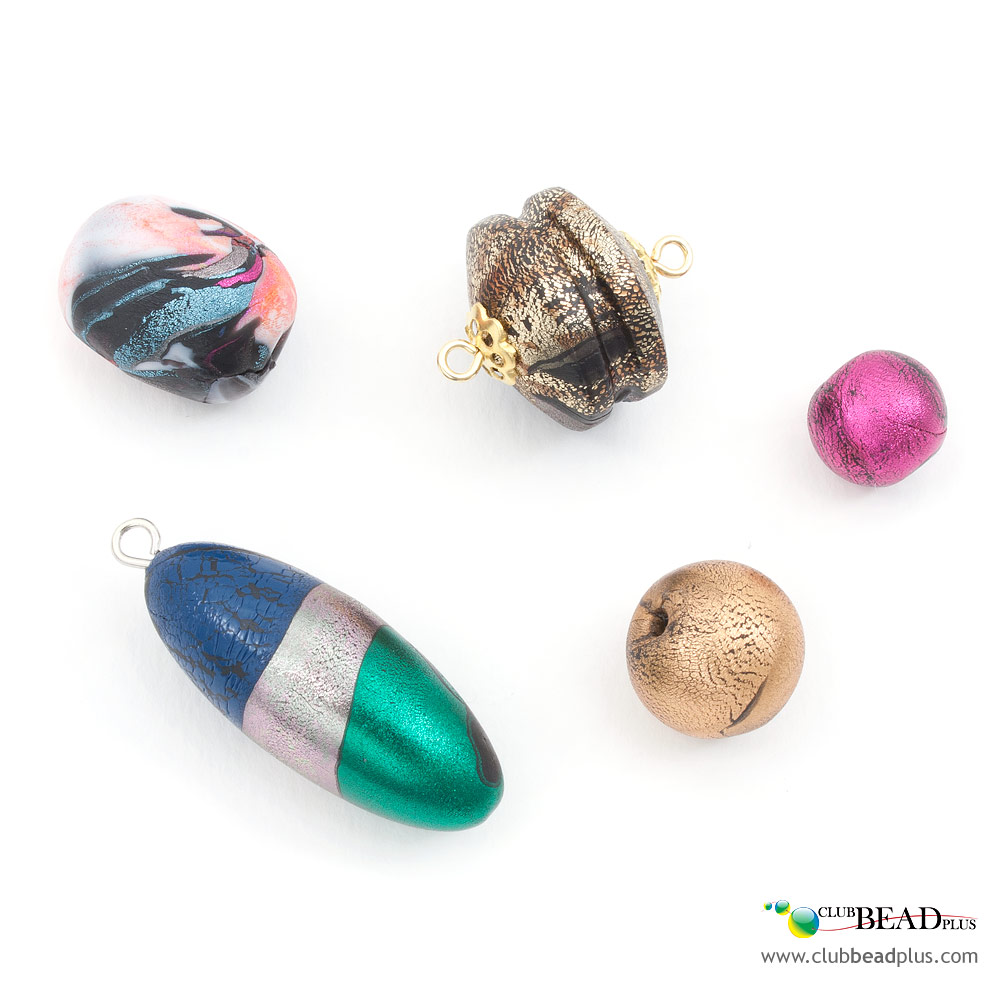
To make a bead, soften the various pieces of plastic. If you are working on a cooking sheet, grease it, then place the colored side directly on the sheet.
Warning: do not let the plastic in the oven too long otherwise the colored surface will stick to the sheet.
When the plastic has softened, with your fingers, fold in the extremities towards the middle to hide the back of the plastic. Wet your hands then make a bead.
You can also use bead rollers to make even beads. Make both of the tool’s plate slide slowly (without too much pressure) one against the other to make the bead. When the bead is to your taste, submerge it in iced water for several seconds to harden the outside of the bead while keeping the inside soft. Then, pierce the bead’s hole with a beading awl. If the bead’s hole is not nice, you can simply hide it with a bead cap!
Use mini cookie cutters to make shapes

You can cut out really pretty shapes using various metal cutters. Slightly oil them to prevent them from sticking to the plastic then, press them slowly in the softened plastic until it reaches the bottom. Remove the cookie cutter slowly. Be careful, if you cut several shapes one beside the other, it is possible that when cutting out one shape you will damage another. To avoid this, leave enough space between shapes. When the plastic has cooled, if the pieces are hard to separate from the plastic, follow the outer edges with scissors and voila!

You can also use metal rings of various shapes to “frame” your pieces or to use them as cookie cutters.
Finishing touches:
Do not hesitate to cut the edges of the flat plastic pieces if the sides are sunken or uneven.
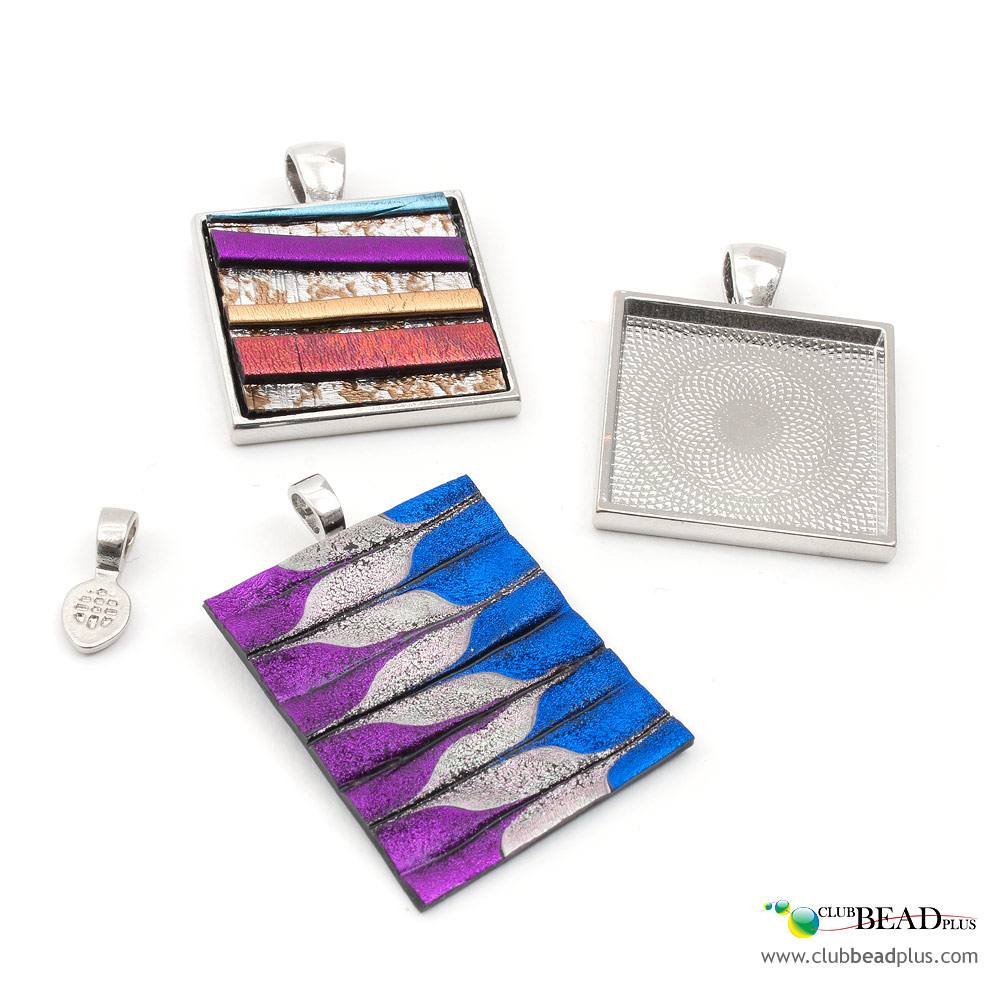
You can insert and glue your pieces in bezels or simply glue a bail at the back of the piece to make it into a pendant.

You can pierce the ends of your piece using a perforating tool so you can add jump rings.

You can also pour casting resin on the plastic pieces and create a dichroic glass effect.
Just let your imagination run wild and explore!
Other important information:
We do not recommend exposing sticks of finished pieces to direct sunlight.
Parental supervision is recommended for young children.