


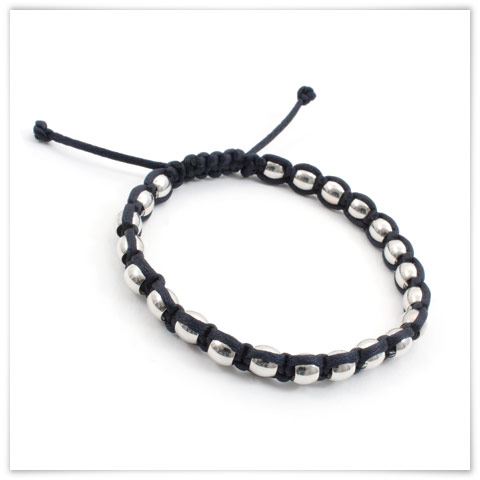
Project - Chépas
Macrame bracelet made of metal beads strung on rat tail knotted cord and adjustable clasp
Material
- 193 cm of rat-tail cord, navy
- 22 metal beads barrel 5-6 mm, nickel
Tools
- Scissors
- Transparent liquid glue
- Ruler
- Masking tape
How-to steps
Step 1
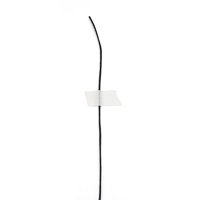
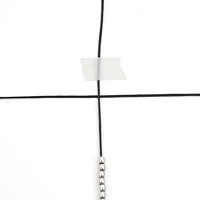
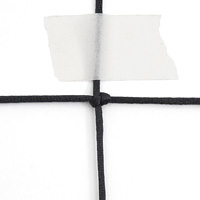
Measure and cut about 43 cm of cord. It will be used as a support onto which the beads will be strung.
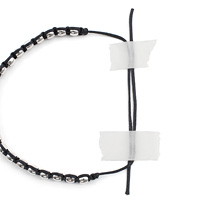
Secure the cord on your working area by putting masking tape at a distance of about 10-12 cm to the extremity. This piece of cord will be used later during the final steps.
Step 2
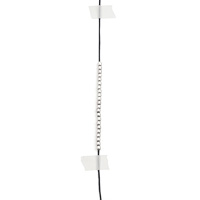
String all the beads that will be used for the bracelet on the support cord. Give a good stretch to the cord and place another piece of masking tape after the beads, at a distance of about 18 or 19 cm from the first piece of masking tape.
TIP
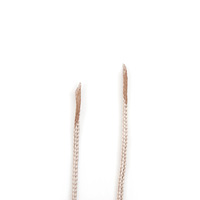
If the extremity of the cord tends to fray, dip it in the transparent liquid glue to stabilize the strands and strengthen the cord. For a thinner end, cut the extremity at an angle with cutter pliers.
Note:If you do not have transparent liquid glue, use some transparent nail polish.
Step 3
Cut a second cord of about 3 times that of the support cord, while keeping aside a piece of cord of about 20 cm that you will use when making the clasp later on.
Step 4
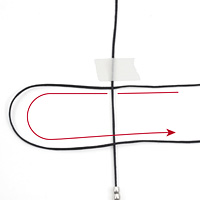
Take the string and place it under the support cord, while centering it to obtain the same length on each side of the support cord.
Making knots
Step 5
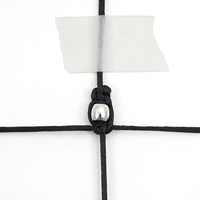
Using the left cord, make a loop on the left, then, pass the rest of the string over the middle one.
Step 6
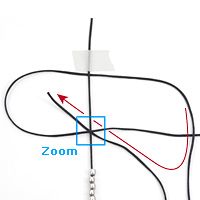
Pass the right side string over the other and make it both cross under the middle string and make it exit through the left loop that you made at the beginning.
Step 7
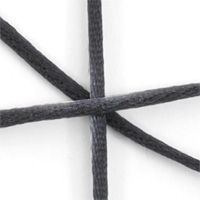
Pull on both strings to make the first knot. Tighten well each knot throughout the bracelet.
Step 8
Repeat steps 5 to 7, however, do it in the opposite direction to make a second knot, in other words by starting by making a loop on the right side. Make a third knot by following steps 5 to 7, as is. You must always alternate from left to right, in other words, it is important to alternate using a knot that starts with a left loop and a knot that starts with a right loop. You will notice that it is always the same cord that will cross over the support cord to make the loop from one side to the other. It is important to always cross the same cord over, by alternating from left to right, otherwise, you will end up with twisted knots.
Little tip: Make a knot at the end of this cord. This will allow you to always know which string to use to make the loop and on which side.
Step 9
Slide a bead towards the knots to insert it in the knotting and make 2 new knots after this bead.
Step 10
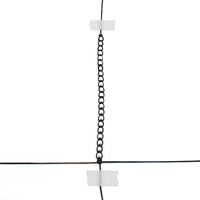
Keep doing this while making 2 knots between each bead, until the last bead*. Then make three knots after the last bead.
*Determine the length of your bracelet by measuring it on your wrist. If needed, remove beads. Do not forget to keep some space (1.5 cm to 2 cm) for the sliding clasp.
Finition
Step 11
11. Once you have the desired length, remove the two pieces of masking tape. Put a little bit of liquid glue on the last knot to strengthen it. Let it dry and cut both ends of the string, be careful not to cut the support cord..
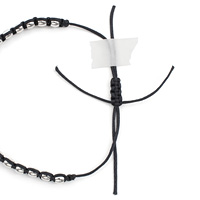
Step 12
Take both ends of the remaining cords and cross them over the length of several centimeters. Using masking tape, secure them to your working area while leaving about 5 cm between them. They will become the support cords for the sliding clasp as well as the adjusting cords of your bracelet once you have finished it.
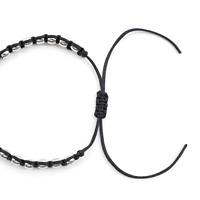
Step 13
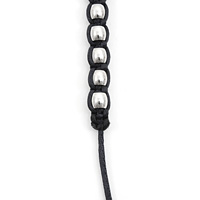
Take the remaining piece of cord and place it under the section of cord secured to the working area. Make a series of knots around these support cords, as described in steps 5 to 8, to obtain a length of 1.5 cm to 2 cm. Remove the pieces of masking tape.
Step 14
Put a little bit of liquid glue on the last knot of the sliding clasp to strengthen it. It is important to make the support cords move inside the clasp for several seconds, to make sure that the glue does not prevent them from moving. If that were to happen, you would not be able to adjust the length of the bracelet. Once the glue has dried, cut the excess cords of the sliding clasp, without cutting the adjusting cords..
Step 15

Make a stop knot at an equal distance on each cord. Add liquid glue on the knots and cut any excess cord. These are the cords that will allow you to adjust the length of the bracelet.